11/01/2012
Back home from sea again and it's time to start the tail.
The horizontal stab and elevators were originally built by someone else. I was not very happy with these, the foam work was all full of gaps and dents, and the accuracy was very poor in there frame alignments, so i stripped them all down to start over, redressed all the timber, removed all the old glue,
set up some stands and got started
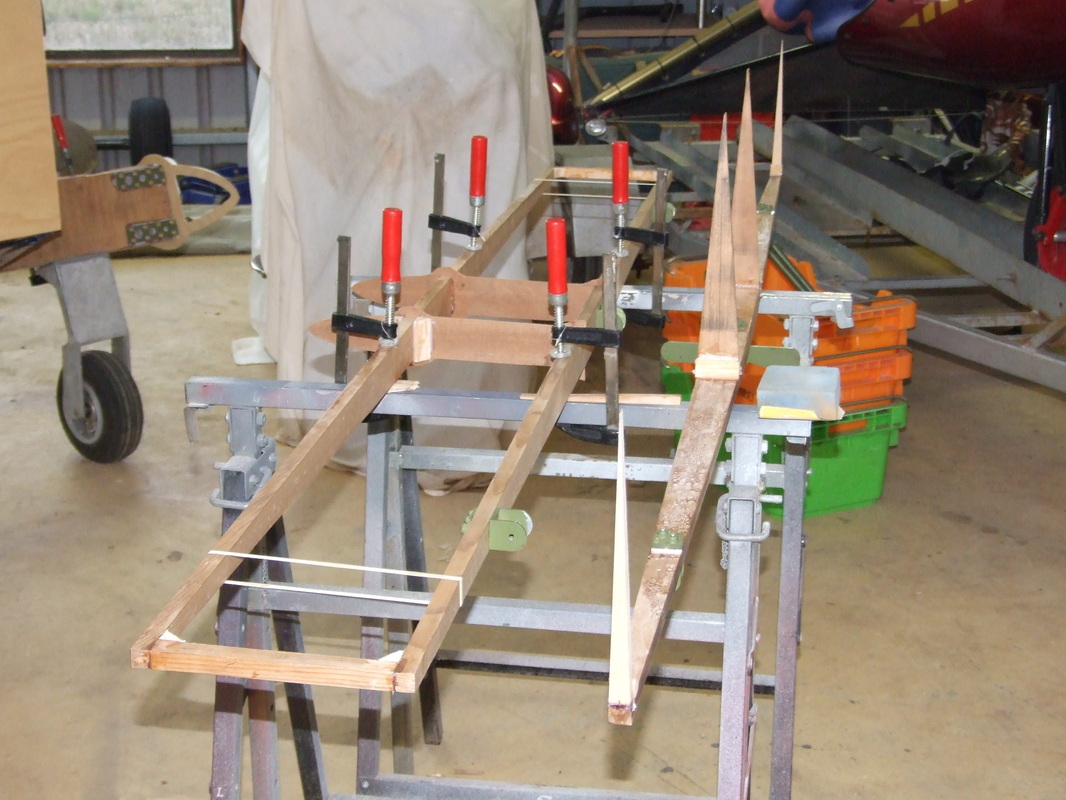
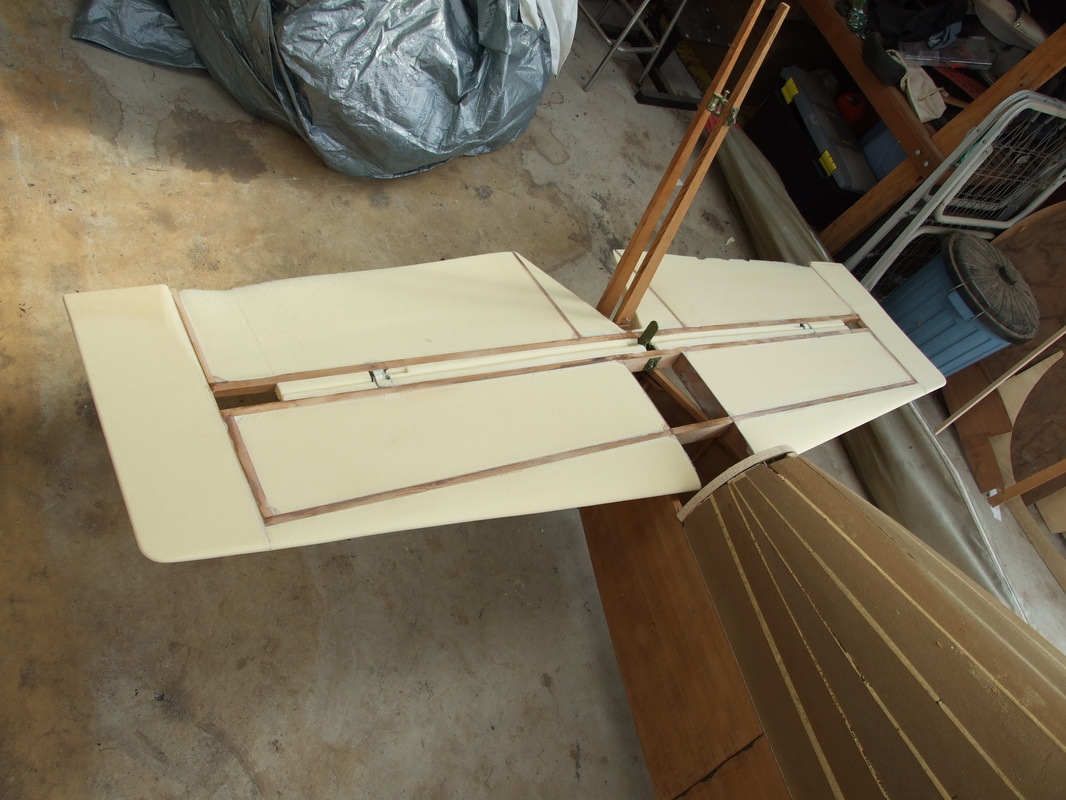
Spars and elevator ribs laid on the stands ready for glue.

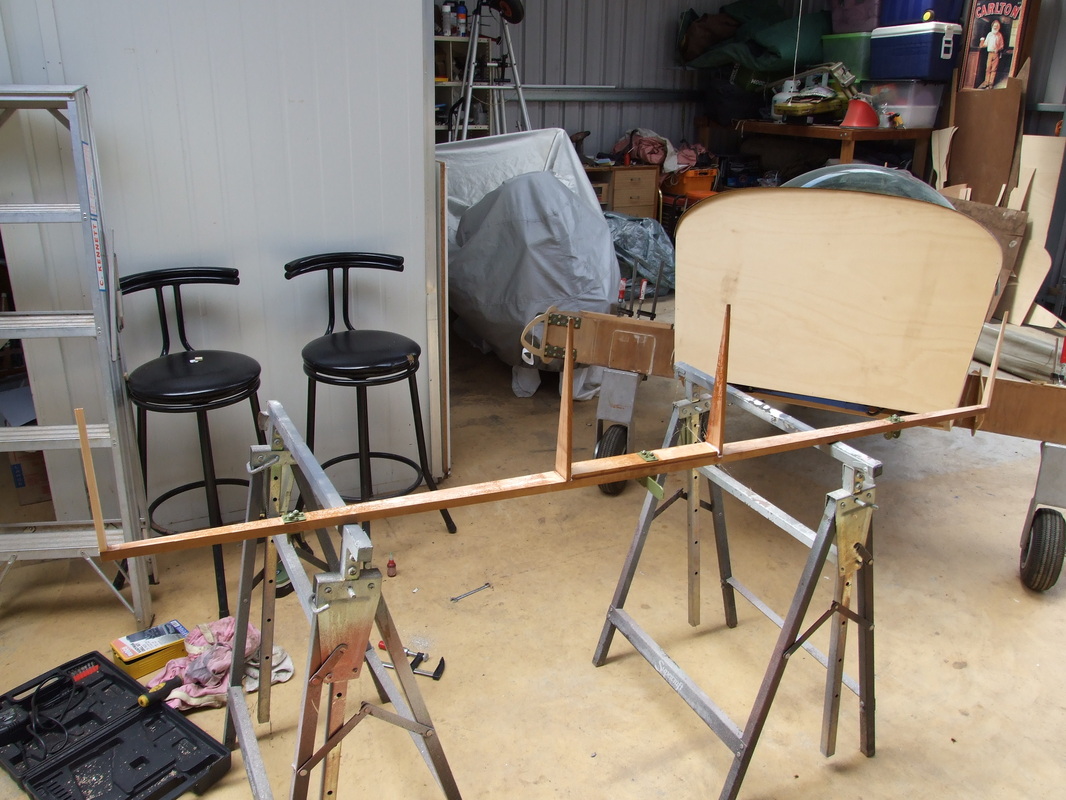
elevator ribs aligned and glued.
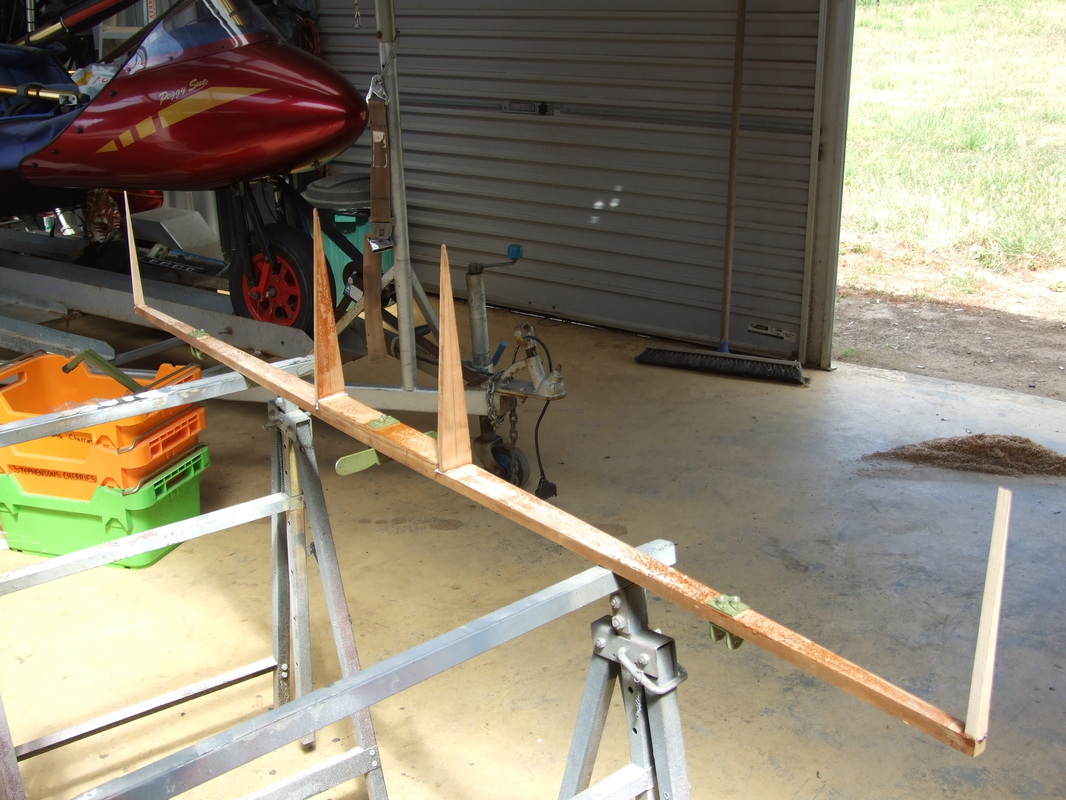
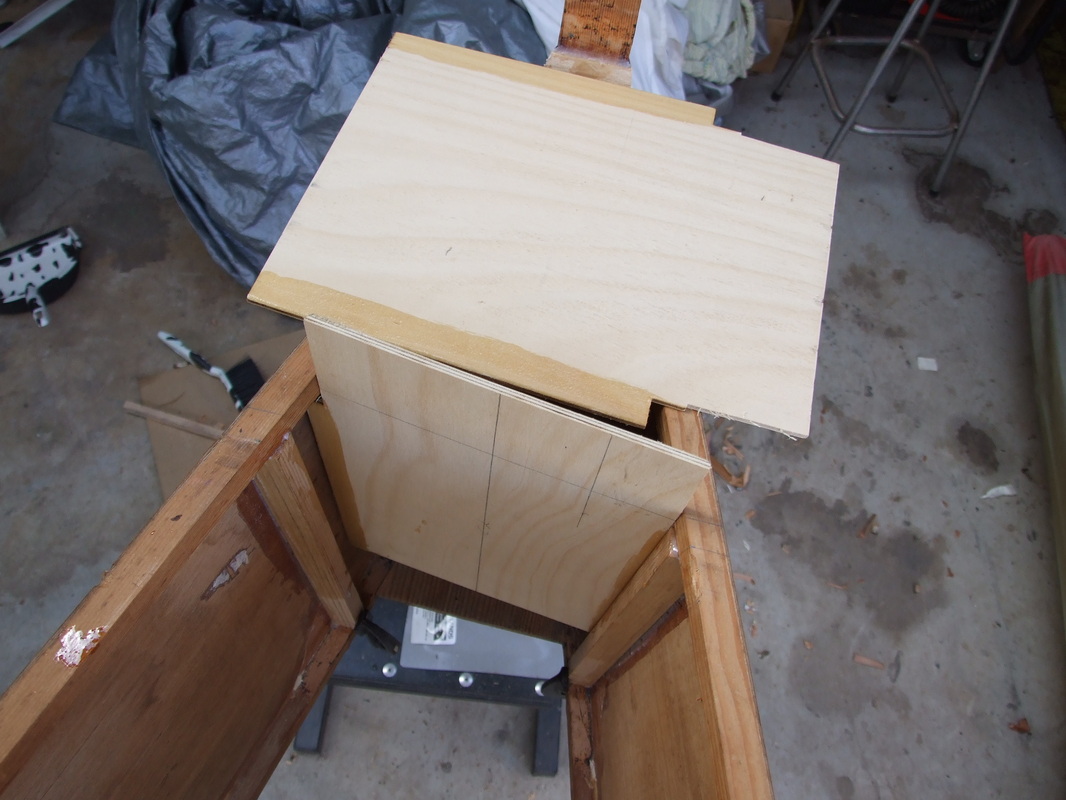
Now for the horizontal stab.
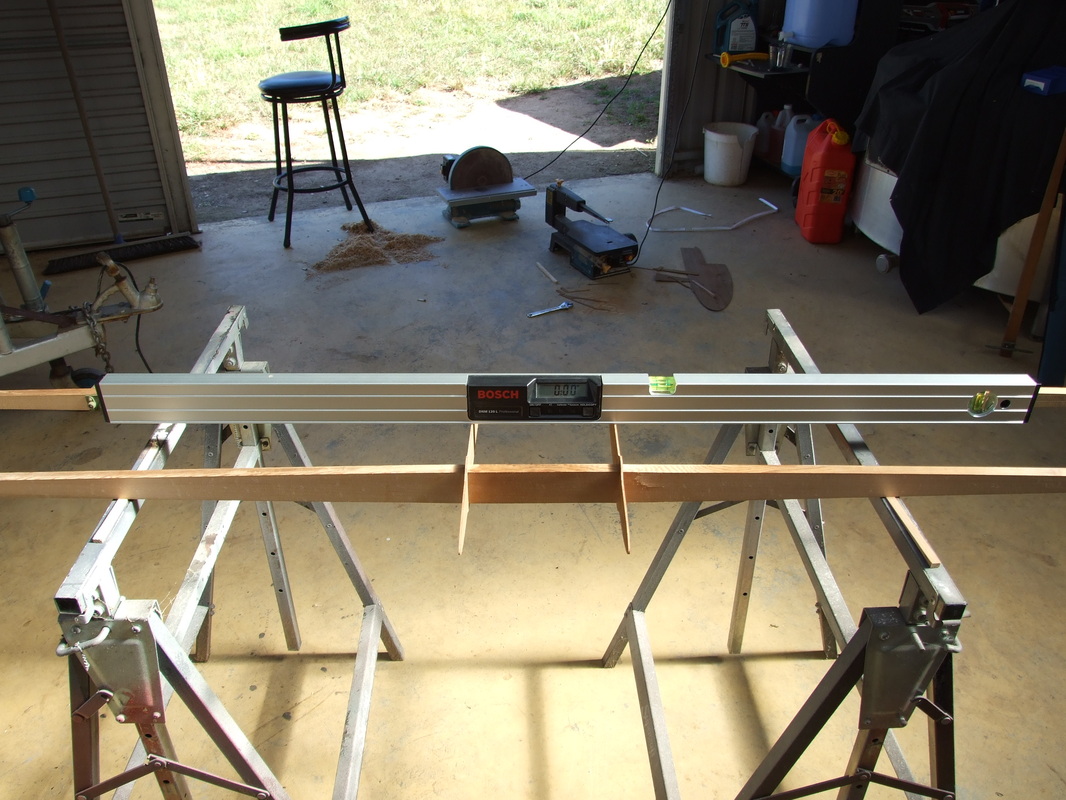
placed the center ribs on the forward and rear spars sat these on the stands, and after a couple of coffee's and a lot of swear words and a few wooden wedges finally managed to get things level for glue.

The other side tip is the same.
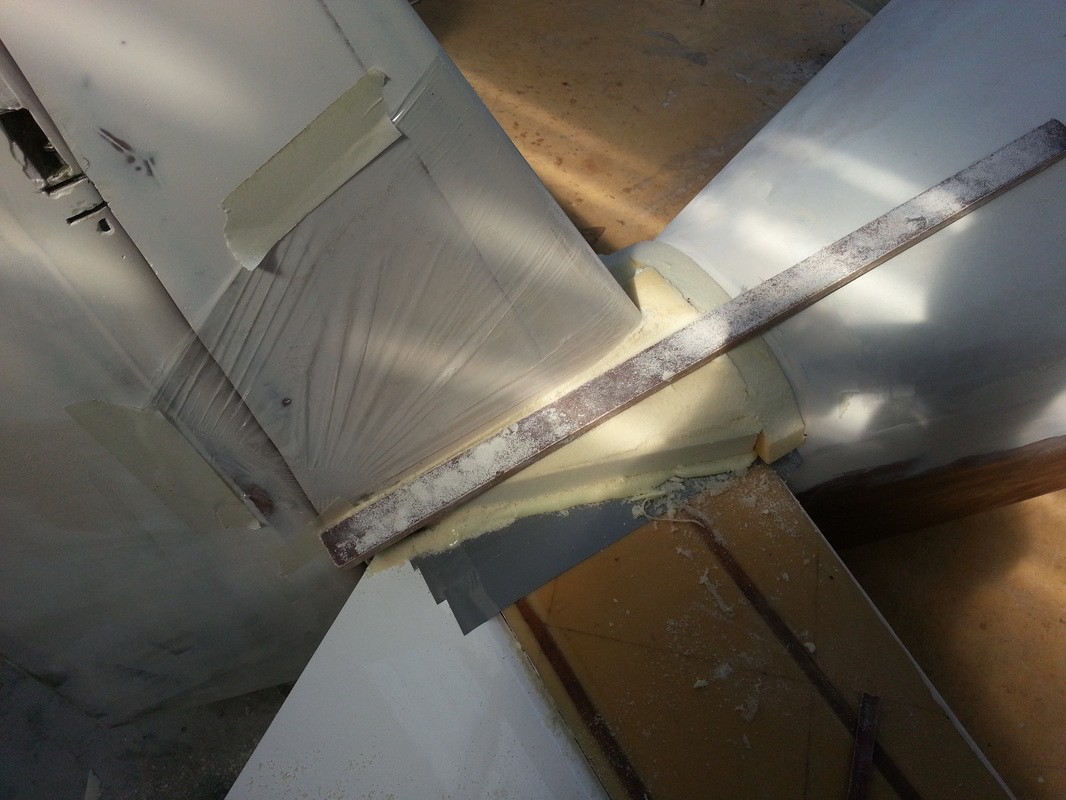
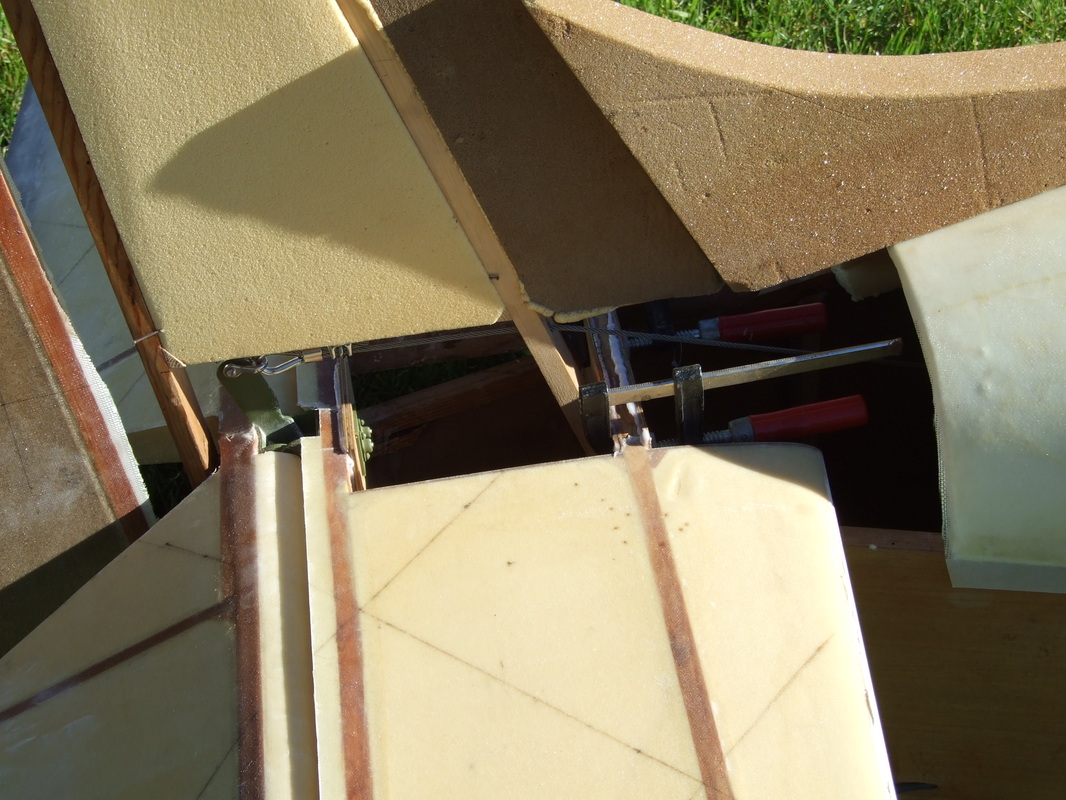
Time to get foamy with it.
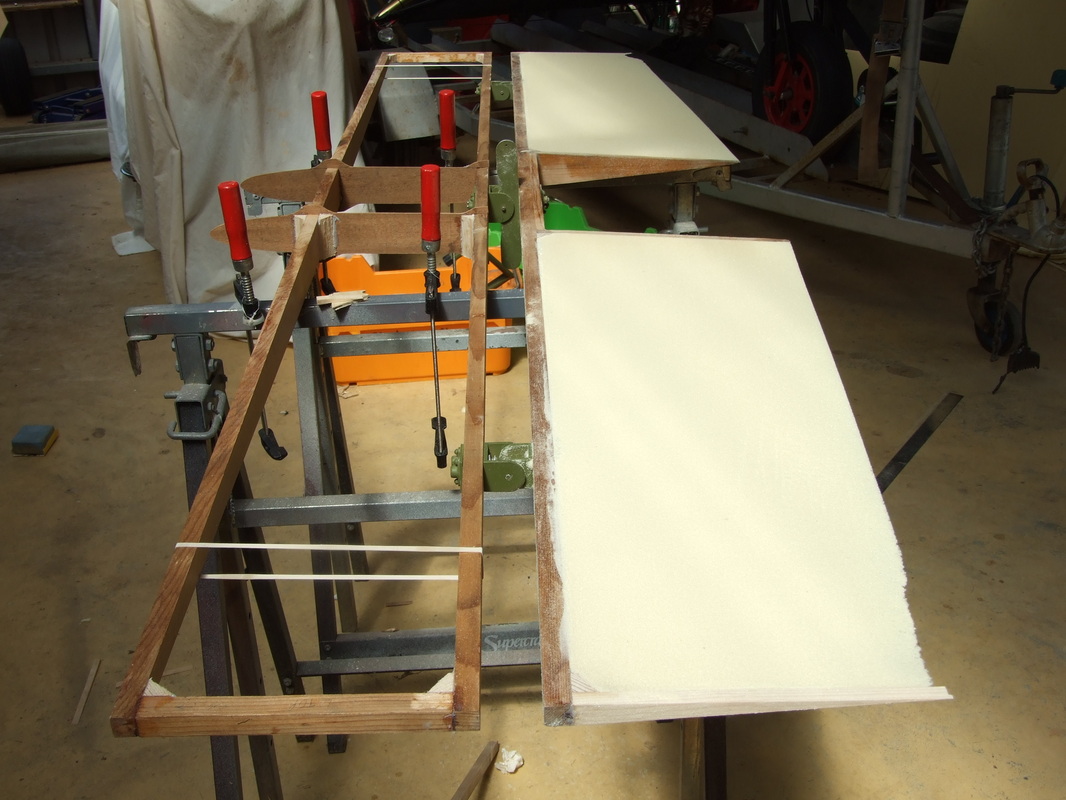
Ya gotta love that 2 pack foam!!
Cut it, chamfer it, tape it, pour it, done!
Then sand it! Beautiful, except those damn trailing edges, too thin!

Nearly there. just have to finish shaping the tips off and add some fill between the the stab spar and elevator spar. the h/stab is being built the same as Troy Petteway's with an extra 6 inches added to the tips and 4 inches cut from the outboard end of the elevators.
Damn it!!!!!
Be glad when I can get the glass on it!!

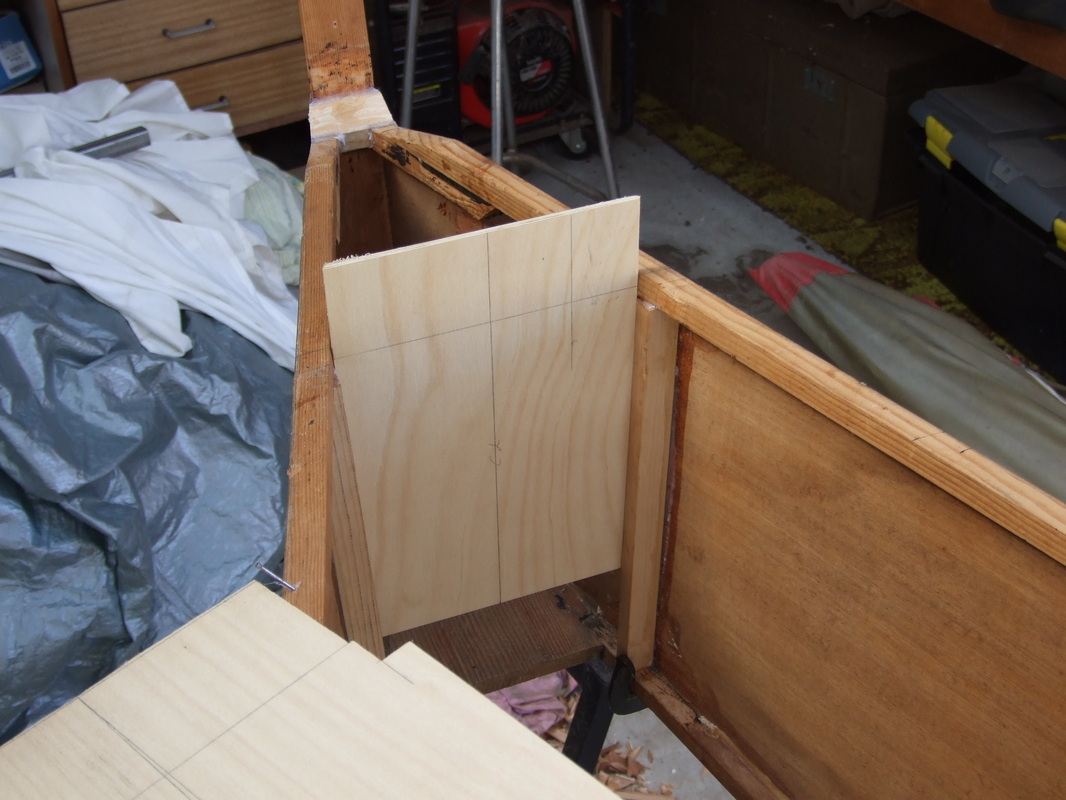
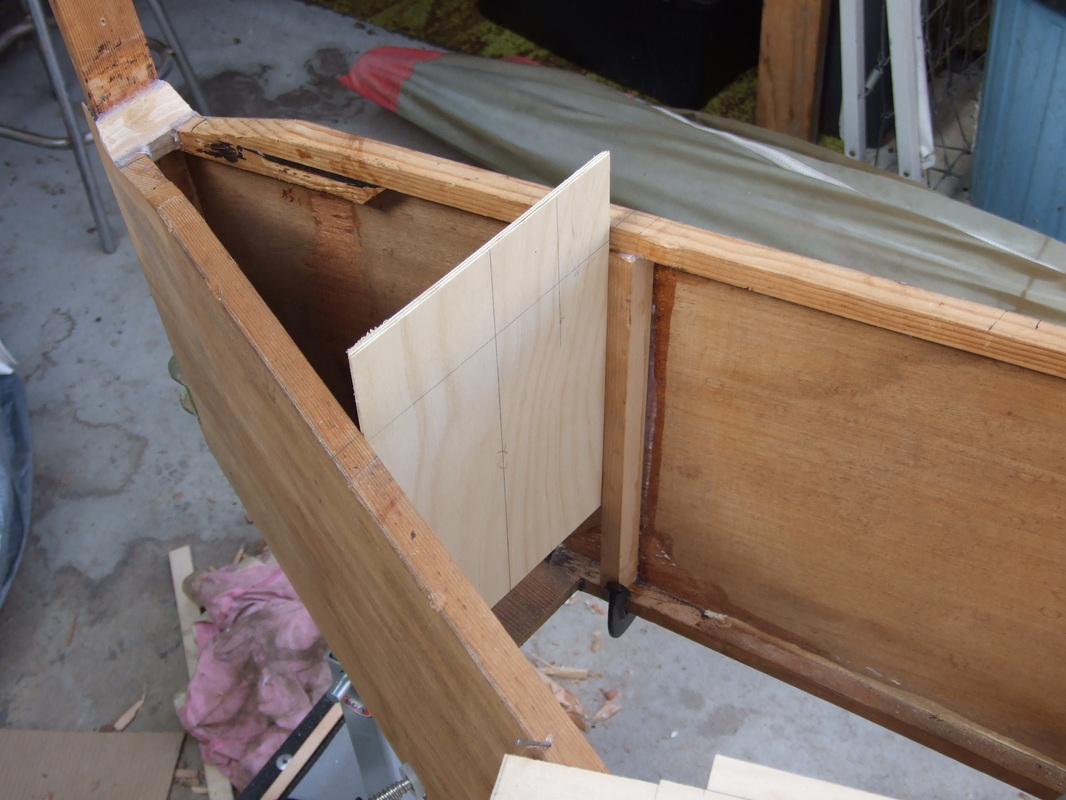
Had to remove the last vertical frame member as it was fitted wrong, it was glued square to the skin and frame then shaped to the matching angle of the fwd spar making it to thin so the plating would not fit the spar, new members were made to the matching thickness of the fwd spar and one face angled to suite keeping the correct thickness, By the way, the fwd spar rear plate I found would be a lot easier to fit if it were fitted loosely in the aft bay before gluing in the upright members or when gluing the tail post in, it was that tight to get in place that I thought i was going to punch a hole through the skin.

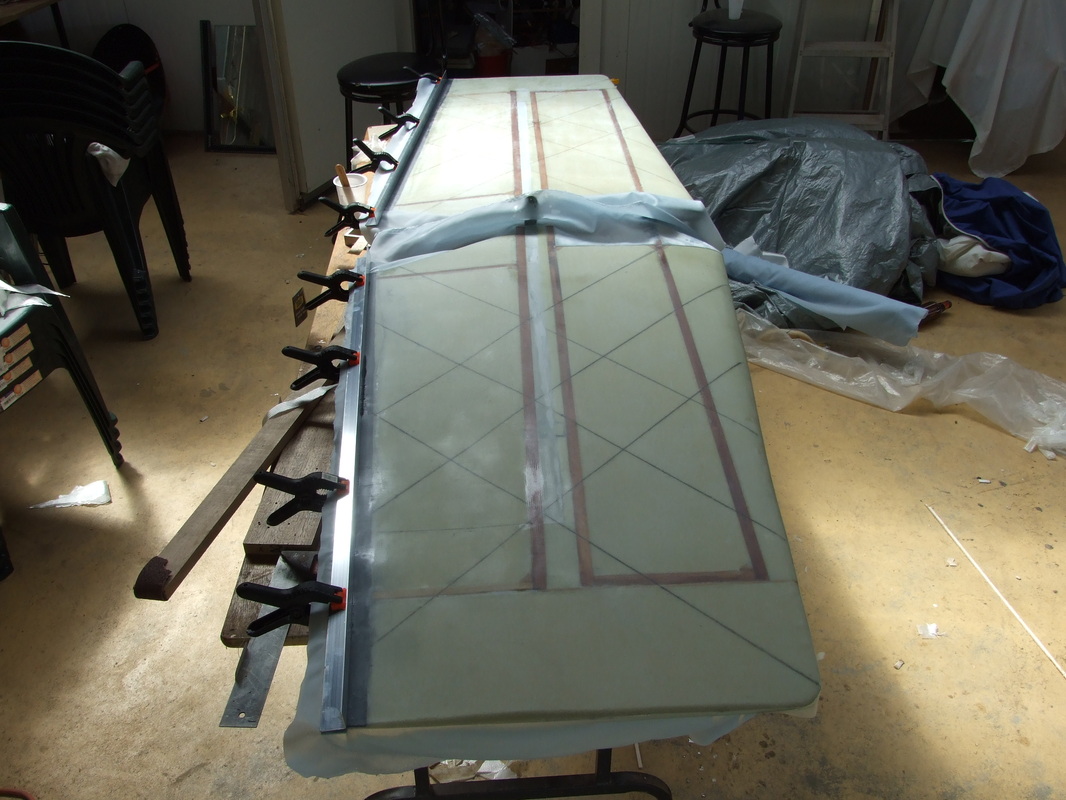
7/2/2012 Back home from sea again and back into building again. Finally have the stab and elevators glassed, you can see where I laid a 2" strip of carbon fiber along the trailing edge to stiffen it up, then the glass went on and using a couple of lengths of ally angle clamped to the trailing edges to keep it true and straight until cured .
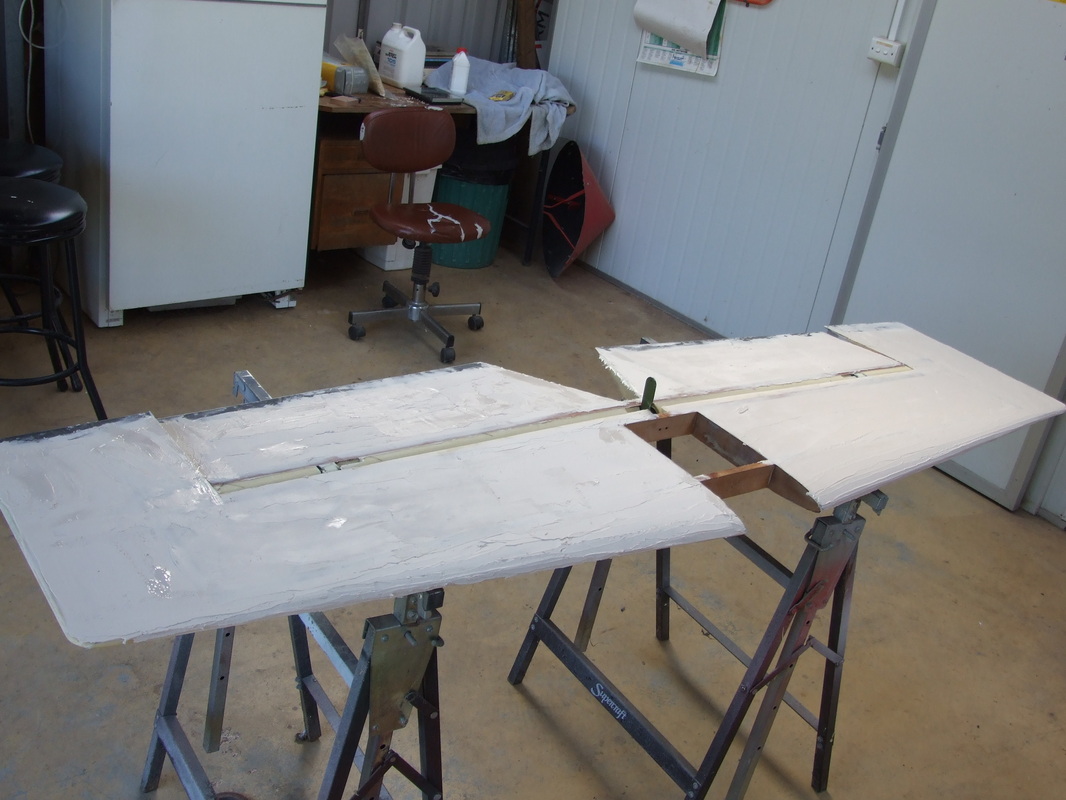
Then using west systems 410 microlite filler to start leveling out the surfaces and then start lots of sanding, something I made for sanding was to cut a plate of 4mm thick glass the same size as a full sheet of 240 grit paper and then glue a block of wood to the backside for a handle this gave me a perfect flat surface finish ready for priming.
And it's amazing to think that how good a job you try to do with the foam and glassing to how much filler you still need to put in to get that flat surface!!
It's been a busy time at home this time (6 to 20 august 2012), only had two weeks off after having an extended time at sea by two week on top of my normal four weeks ( saving money to buy my engine).
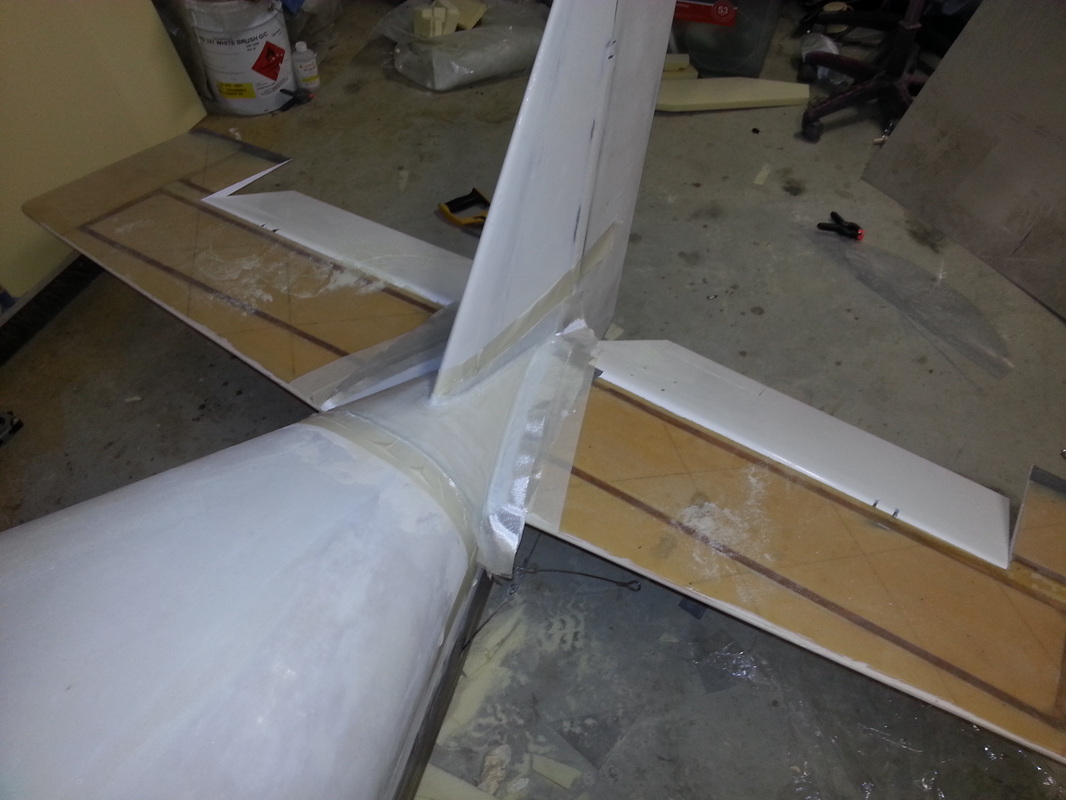
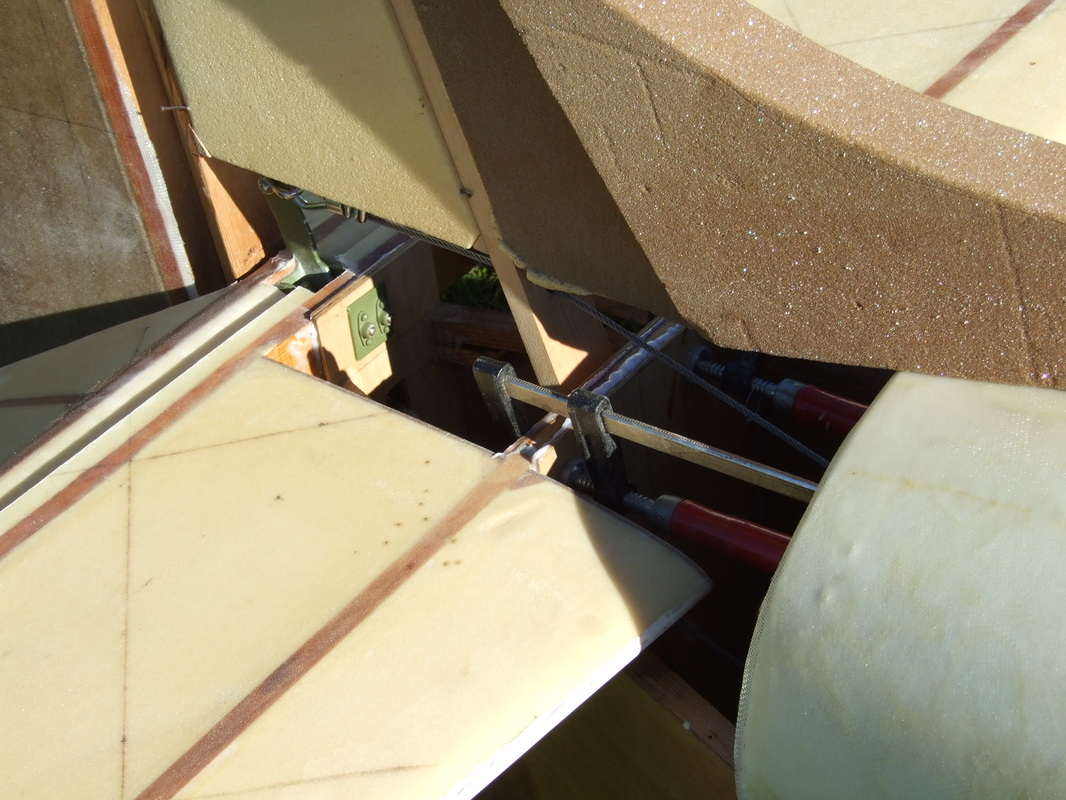
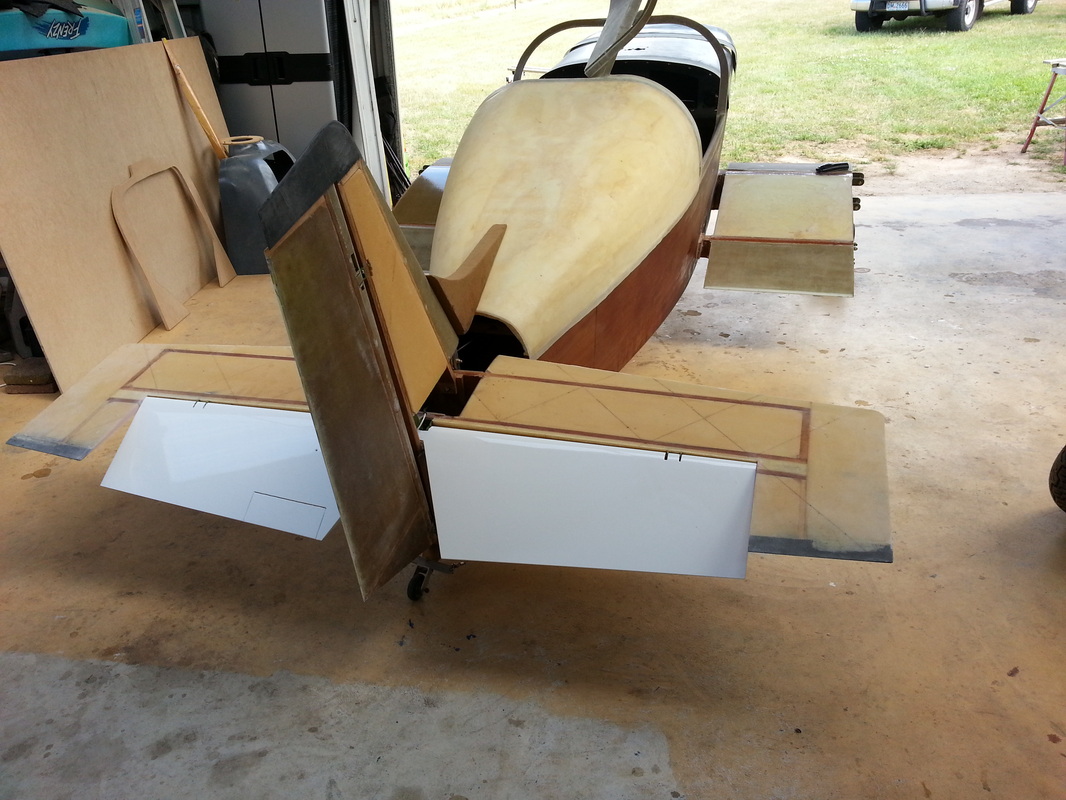
The rear spar mounting plate rear gusset blocks fitted then the whole fuse was then leveled to the correct incidence of the main wing and the horizontal stab was then permanently glued in place, leveled and '0' degrees incidence, the center hinge then bolted on.
Just have to finish the elevator leading edge now before mounting the elevator. Then I'll be able to continue on with the vertical fin.
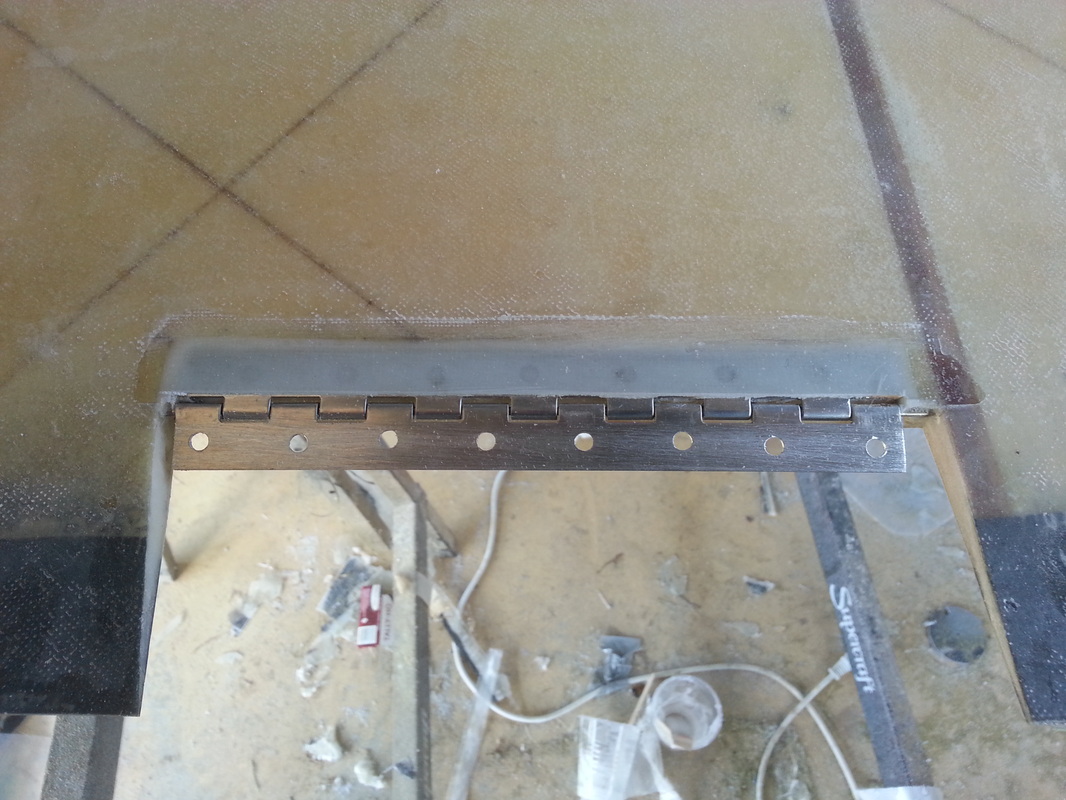
The trim tab has now been cut out as per plan and hinged pretty much the same way Mark Langford has done his were the hinge has been floxed and glassed into place permanently. the photo only shows the hinge on the elevator, the trim tab was done in exactly the same way.
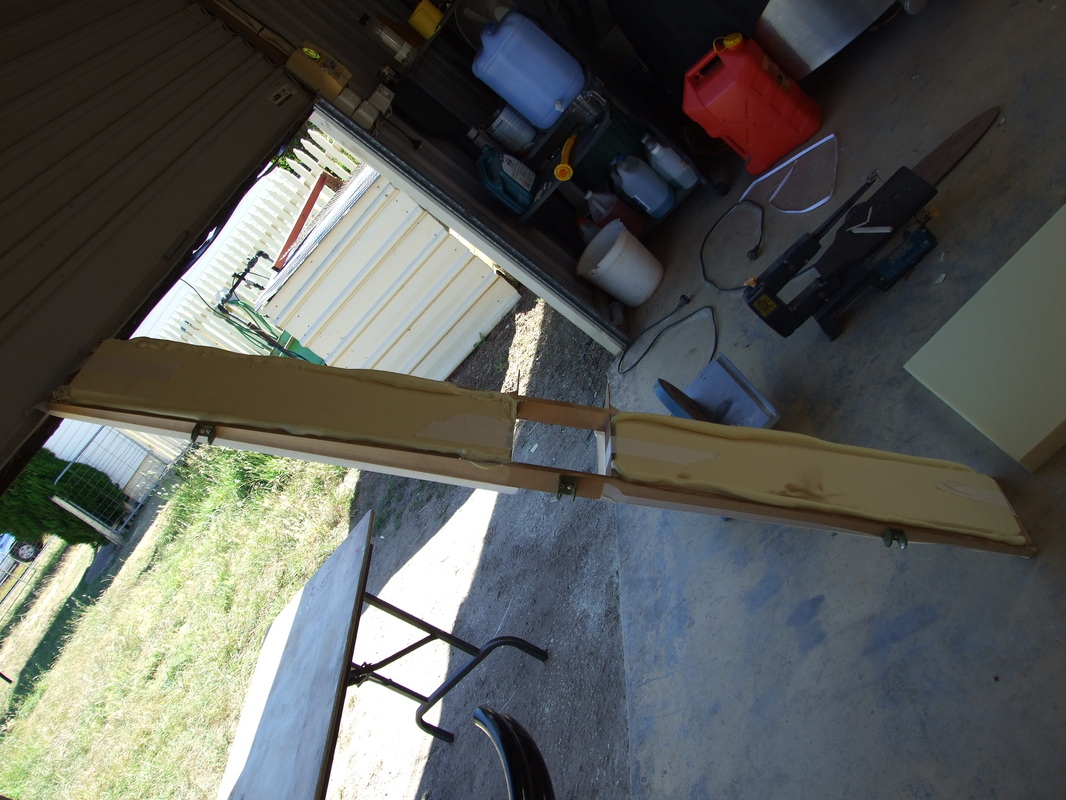
Finally started painting a part of the plane. I started on the elevator used a 2 pack polyurethane filler primer, then used my trusty 12"*12"sq pain of glass with 320 grit paper glued to it and sanded it down to a smooth fat surface until I could just see the glass showing through on both top and bottom surfaces, then painted only the top surface and leading edge for now, and wow what a finish gloss straight from the gun!!. Just hope the rest of the plane comes up the same now.
Finally received Ray Allen trim servo kit, installed the LED position indicator and modified switch to the panel, wired up the stick grip buttons (Bloody fiddly!). Then started on the trim servo fitting cut out a square hole from the bottom of the elevator to the upper surface glued in a peace of 4mm thick square plate to the inner upper surface then drilled through to mount the servo. this was basically the easy part of the whole trim system installation. now just to make the covers for it and paint the under surface. then the elevator is finished.

Elevator is now permanently fitted fin foam was glued in shaped glassed filled and sanded, pretty straight forward.
The rear deck was then made permanent and the rear tail fairing was then made. This was also pretty straight forward. the end of the rear deck was trimmed square a piece of 1" foam glued onto the end Then sanded flush to the end of the deck and then another approx 1/8" lower than the end of the rear deck to create a lip for the rear fairing to be made to, this was then glassed with 6oz. cloth.
The whole fairing area was then blocked in with foam shaped then glassed with a couple of extra strips around the rear deck edging to reinforce the fairing and to add thickness for countersinking.