Jan 2013.
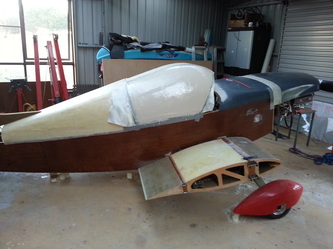
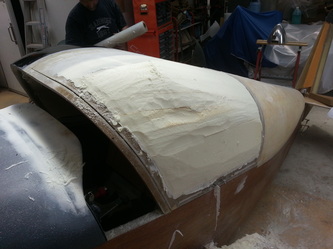
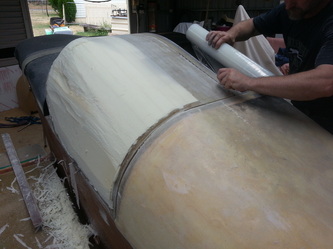
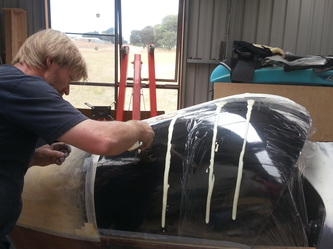
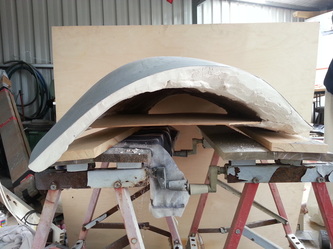
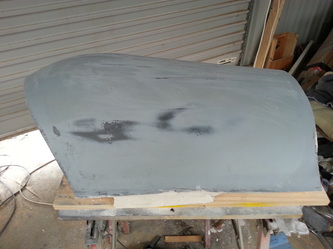
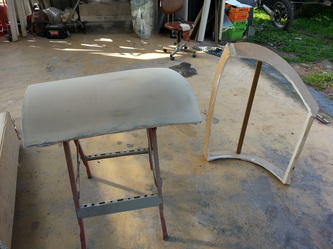
Started building the molds for forming the Acrylic sheets for the cockpit glass. pretty straight forward. fill the frames with foam sand to shape, fiberglass then filler more sanding and paint.
The runs of pour on foam over the mold is for making profiles to get the other mold to the same profile.
Started building the molds for forming the Acrylic sheets for the cockpit glass. pretty straight forward. fill the frames with foam sand to shape, fiberglass then filler more sanding and paint.
The runs of pour on foam over the mold is for making profiles to get the other mold to the same profile.
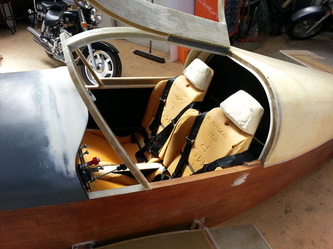
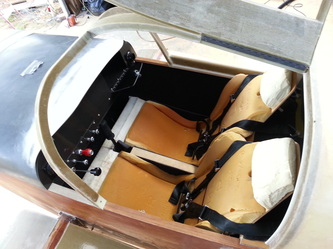
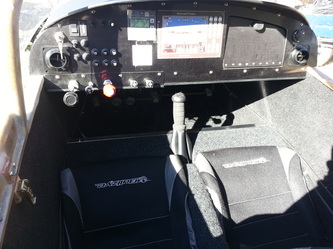
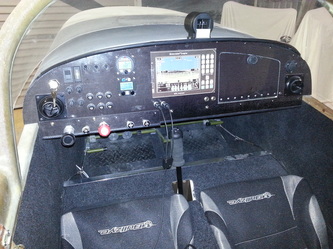
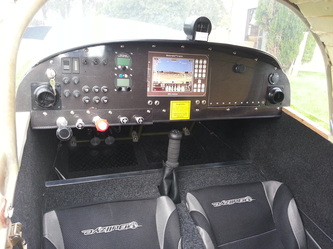
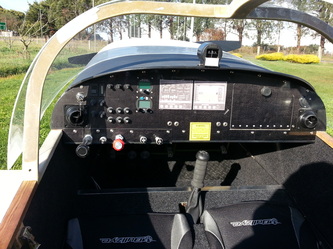
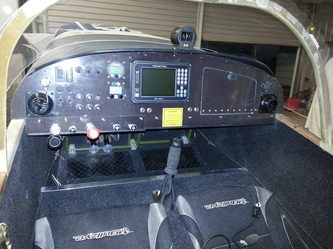
Here I went to the local car wrecker and found a couple of car seats out of a Mitsubishi Lancer, gutted the foam from the frames and with a little trimming they fitted perfectly. The seat back foam was turned upside down from the original way, and that made a big difference to the comfort and head room. Went and bought a set of car seat covers, they have yet to be tailor fitted to the seat foam but it gives the idea. And the sun light shows the rubber mats in the carpet just forward of the rudder pedals. This was a fun trick to do, masked off a square in the carpet the same size as the mats, made up a steel roller about 4" long heated it up with butane torch and used it to melt a square into the carpet then bonded the rubber mat into the carpet with contact cement. The rubber mat now lay's flat and flush with the top of the carpet (just like in most cars) Looks good I think.
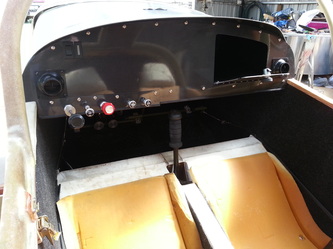
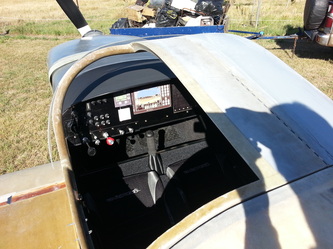
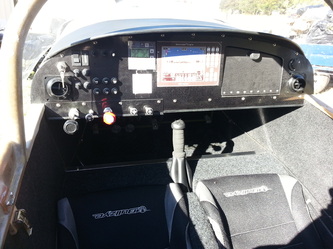
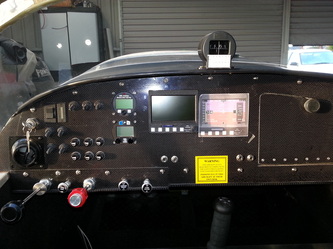
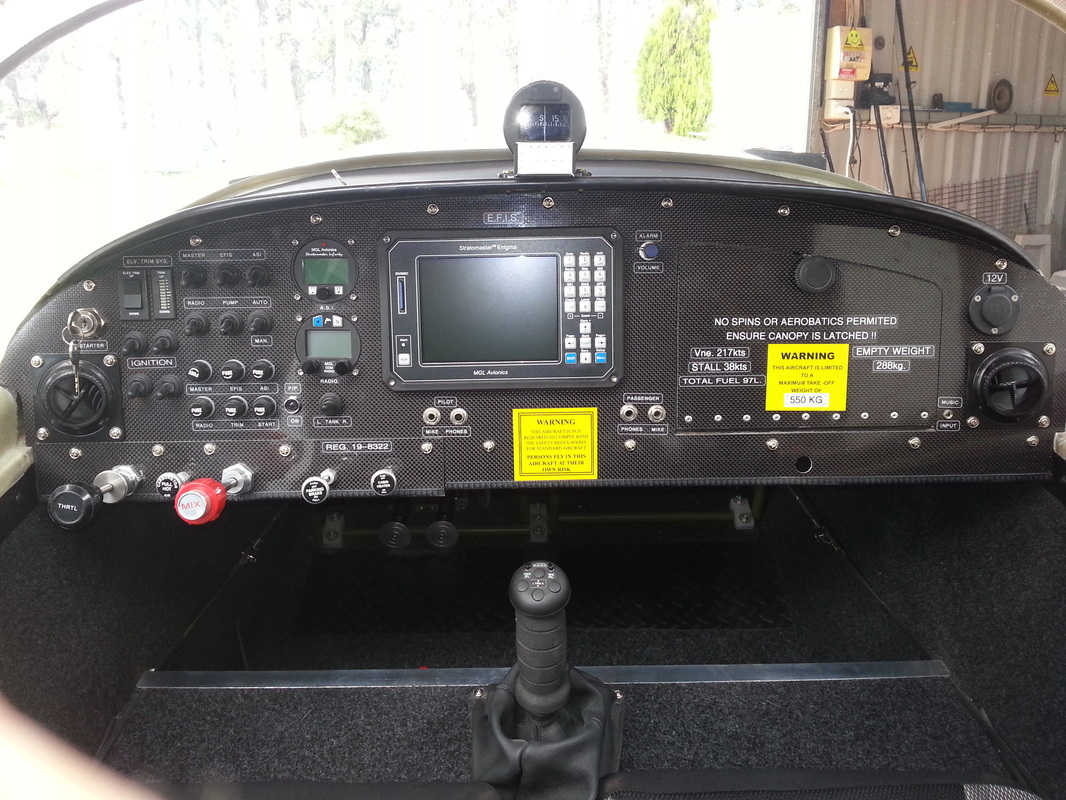
The panel is now starting to look more complete. Going with all MGL components, the asx-1 ASI/ALT and the v6 radio with intercom harness is now fitted and compass sitting on top of the glare shield. and glove box finally finished can fit a A4 sheet of paper flat in there and i reckon that'l be were the spare headset will live.
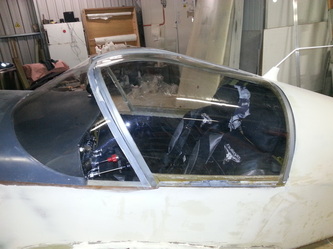
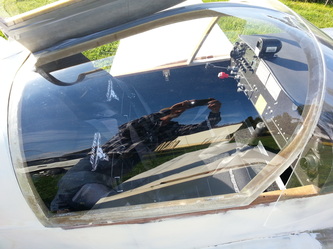
Finally got around to forming the side windscreens.
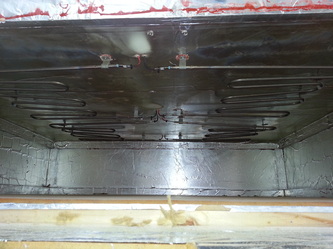
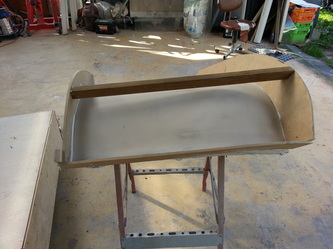
Went all out and built myself a purpose oven with four oven elements with a thermostatic control. Then made up female press frames to press the acrylic sheet onto the molds. draped the male molds with velveteen fabric. heated the plastic in the oven to 170.c then stretched it over the mold with the female press mold and with helping hands pull out any wrinkles while it was still soft.
I will be the first to admit they are not perfect but near enough for me cant see any imperfections while inside the cockpit. But still very satisfiying
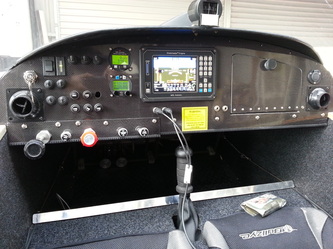
With the instrument panel I had plans on putting an EFIS. system in and had made up my mind on a Stratomaster Enigma,
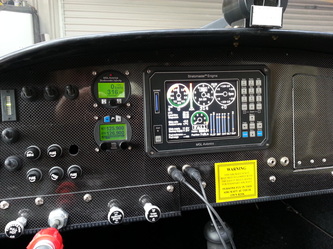
I went to order it on the 23/05/2013 from the Aus. distributor and was told that they had stopped production of them only 2 weeks ago and there was no more available (F(()&^(*&%^ - it!!). so over a couple of days doing more home work on panels I decided to settle on a split system with MGL's extreme mini's. So now I ordered one extreme mini EMS system. Shock to the system it showed up in the mail the following day. The plane was now all tucked away in bed as I was getting ready to go back to sea (screw it gotta see what it looks like!). Pulled the covers off made up a cut out/drilling template for two extremes so when I get the second one, the EFIS.
I can realign the template then drill and cut the panel to keep both perfectly inline with each other. Now I have one new MGL extreme mini EMS system sitting in place for when I get home to wire it all up.
UPDATE. When I was told from the Aus. supplier that the Enigma was unavailable, I now have had a message from him on the 31/05/2013 saying there was a second Enigma coming on a shipment from the supplier and can be mine if I still wanted it.
The EMS will be sent back and replaced with the Enigma screen. Back to original plan 'A'.
The EMS will be sent back and replaced with the Enigma screen. Back to original plan 'A'.
