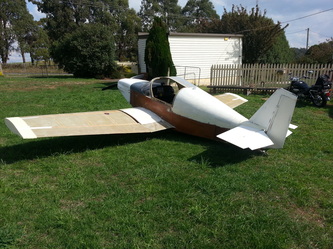
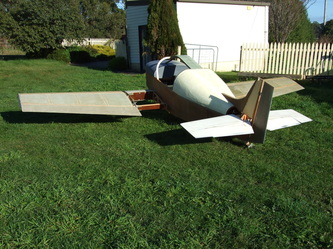
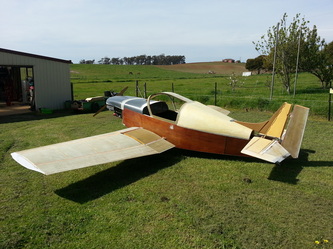
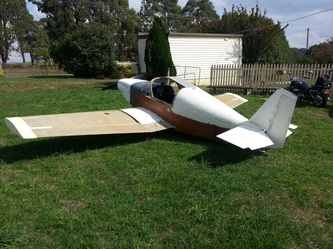
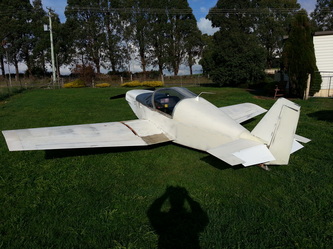
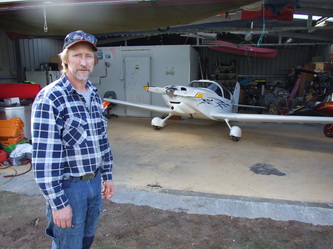
4 Oct. 2012
Now other people that build planes may see the funny side of this.
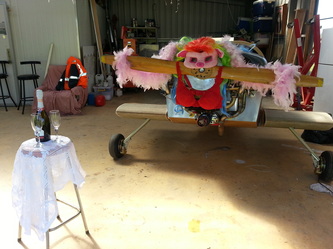
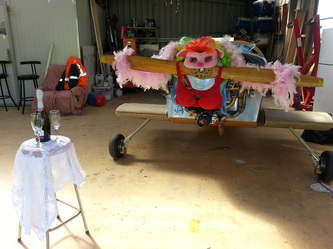
(especially on the home front from the other half). That the wife's think we spend to much time with the other woman in our lives.
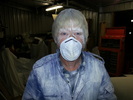
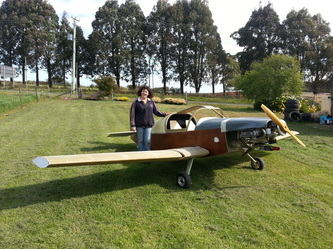
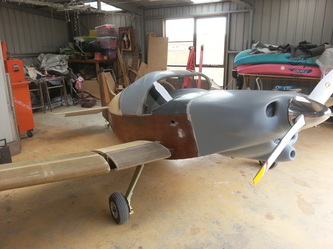
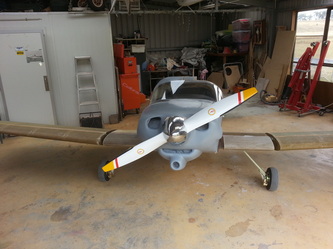
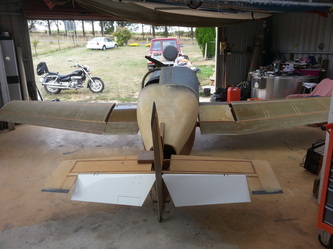
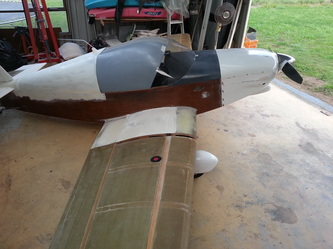
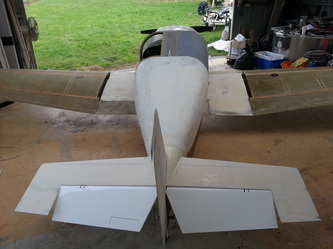
This is what I found when I got home from sea and went straight out to the shed and opened the door. I got told
Do you get the hint!! ---- no!!
And I didn't even get to drink the bottle! She took it away
13/Oct/2012
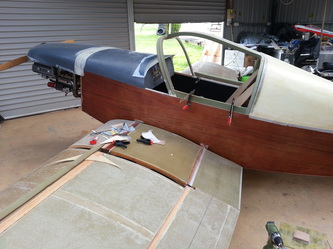
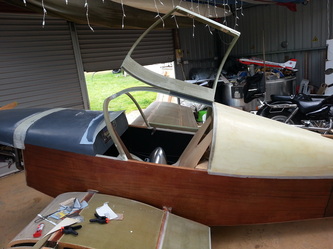
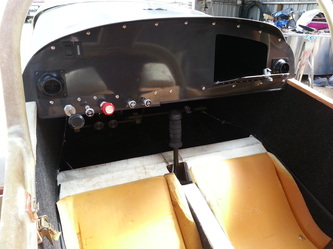
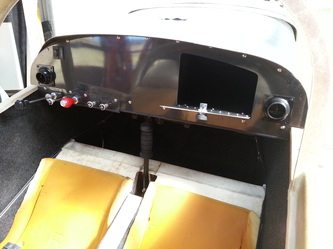
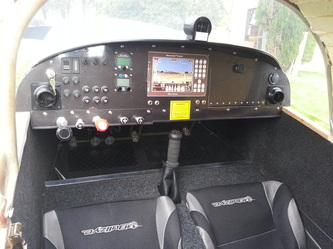
Decided to go with my mate Davids idea and add a sun shade over the instrument panel, this made a huge difference to the appearance of the interior. (Thanks Dave!)
Canopy frame is also under way and nearly done. next time home it should be finished and then i'll start on the windscreen and canopy glass.
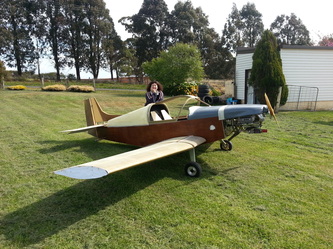
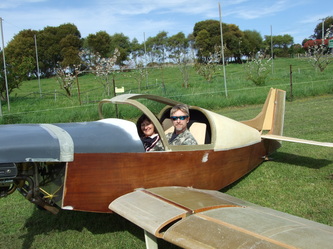
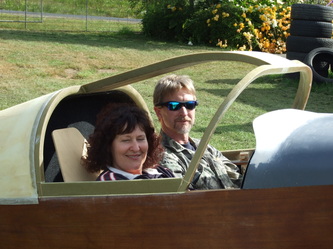
Finally got Sue in her seat to try it out for size. And had a play with the camera
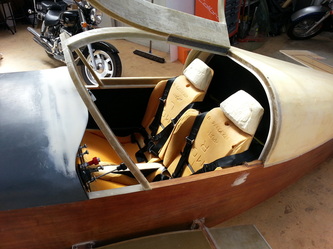
Interior is coming along. Went to the local auto wrecker and found a couple of reasonable condition seats from an old Mitsubishi Lancer then gutted out the foam from them, then cut and shut the foam to fit. The seat backs were nearly a perfect fit just turned upside down slight little trim in a couple of spots. Looks good to me so now ready for covering, didn't weigh them, but they weigh next to nothing anyway. The shoulder harnesses are attached through the parcel shelf with a 1/8" thick 4130 chrome plates then a 1/8" cable to the tail wheel spring bolts and attached by another 1/8" 4130 chrome plate Bracket.
Carbon fiber instrument panel is looking good, (Love the look of carbon fiber). Glove box door cut out and hinged, the outer fish eye vents holes cut out and vents temp. fitted. Control cable mount/insert cut to shape. Cables for engine, park brake valve, and cabin heat fitted into the insert. The Ray Allen electric trim switch and LED indicator fitted into the panel and wired up to the Ray Allen stick grip.
I like to give a big thanks to Paul and Graham in Queensland. Paul for driving me around Brisbane and showing me his KR build, And Graham for Taking me up for a run in his KR. That was a great experience for the handling and for a few traps for the unwary, especially the sudden power off yaw!!
So thank again guys.
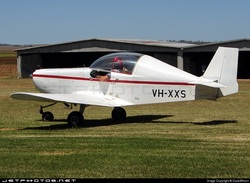
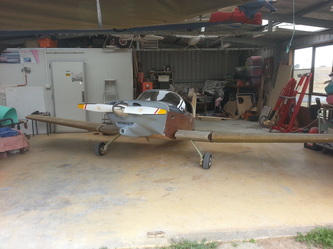
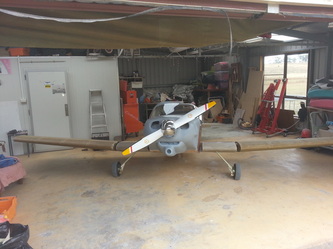
11/02/2013. the way she looked the day before I shut the shed to go back to sea.
09/04/2013
This time home saw a few changes. A mold was taken from the cowling plug and the cowl was made this includes an access hatch for the oil dipstick and oil filler cap. wheel spats were also made the same way but using a spare that i have for my Pegasus trike as a plug for the mold, so now if i damage any i'll have spares for both planes.
Compass, Radio, Alt/Asi and intercom harness fitted to panel.
return springs on rudder pedals. Vertical fin finished and elevator permanently installed, and cable work finished off. Rear deck made permanent. Rear tail fairing made. Header fuel tank started inside of fwd deck, ready for glass next time home. Fuel tank caps fitted to outboard wings ready for finishing next time home. Pitot and static tubes shaped and temp. fitted to stub wings. Started on filling and sanding stub wings, tail and rear deck joining. Made and cut to shape foam blocks for wing tips.
29/05/2013
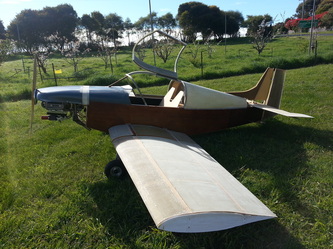
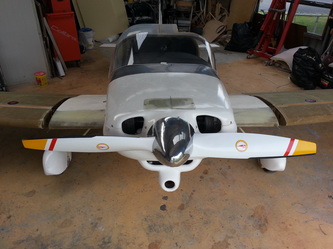
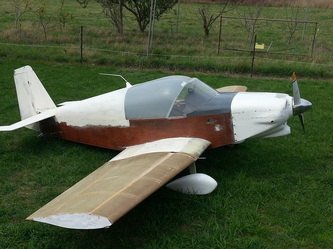
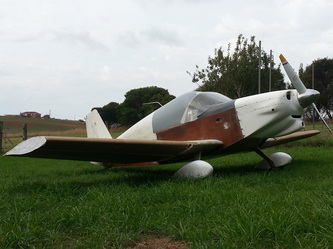
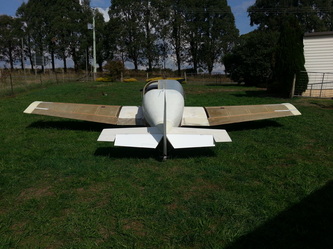
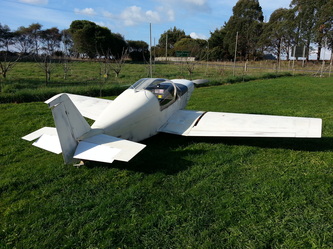
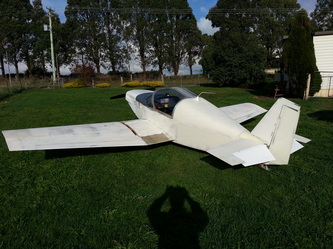
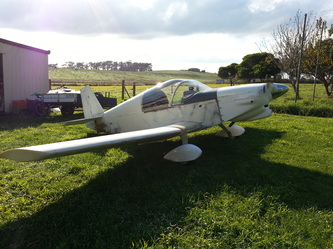
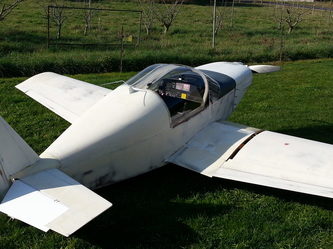
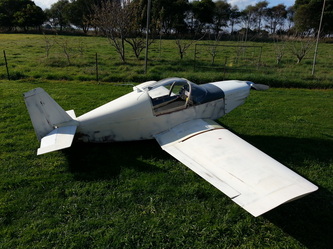
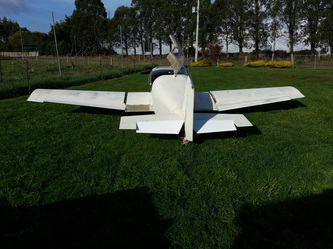
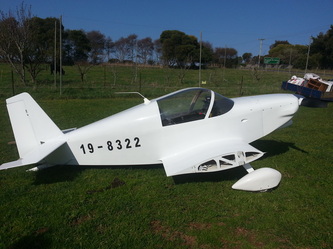
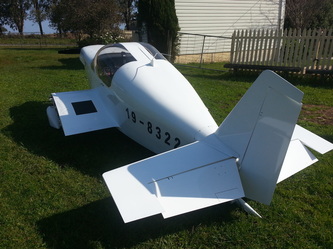
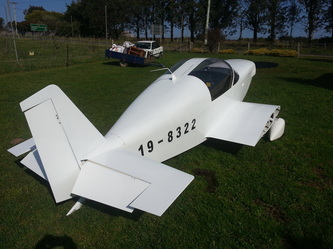
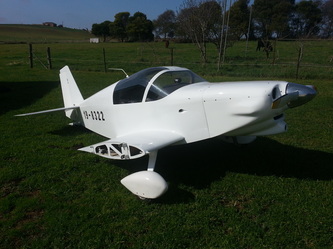
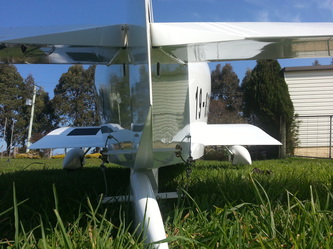
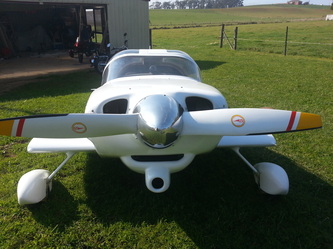
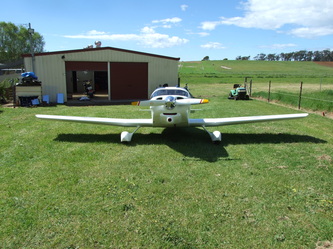
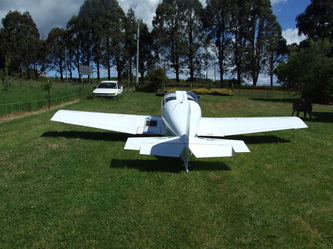
Well back to sea again, last day of leave to drag the plane out for some photo's. definitely looking more like a plane now. Its been a big leave and got a lot done, wings basically finished with fuel tanks only mass balancing the ailerons and painting left to go.
Windsceens have all now been formed, including building the oven to do it. Screens yet to be fitted in place, only taped there for now (not a big job).
Under surfaces have all been prepped for painting, including landing gear leg fairing.
A dose of filler over the fuselage and a sand back
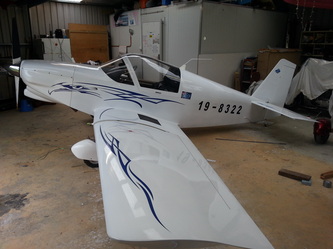
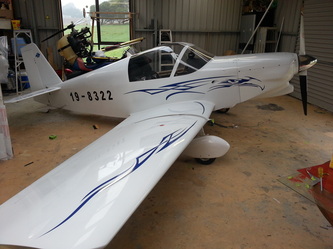
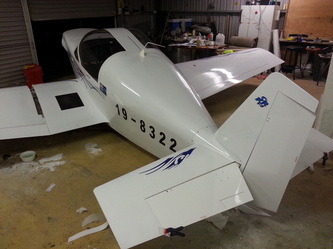
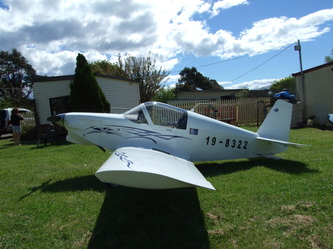
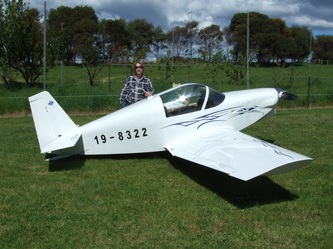
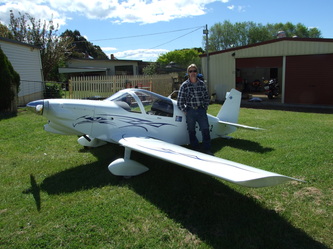
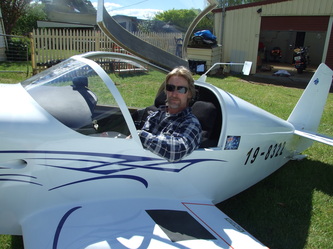
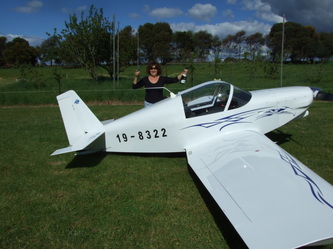
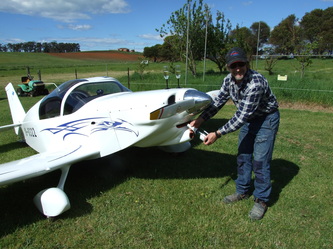
30/08/2013 Finally got around to start painting, was planning to do all sorts of things with color schemes, but after I added the rego numbers up the side I have decided not to do any, as it sits, I think it looks like if its getting ready to go racing
10/09/2013 One more wing to go, thank god! my arms cant take much more of this sanding buffing and polishing!
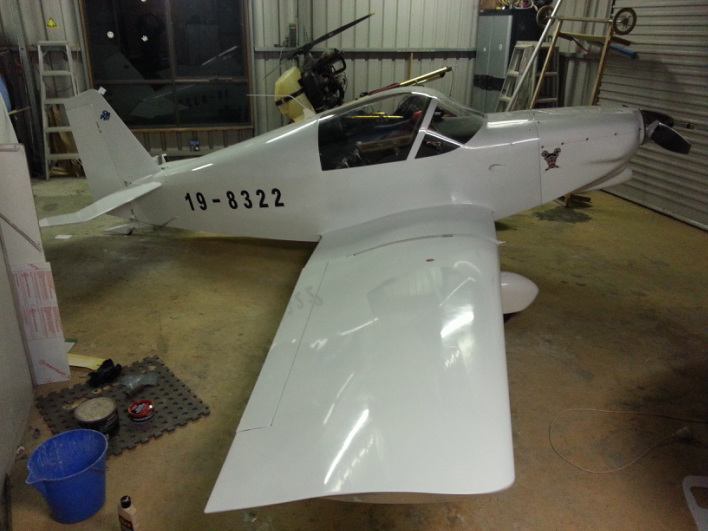
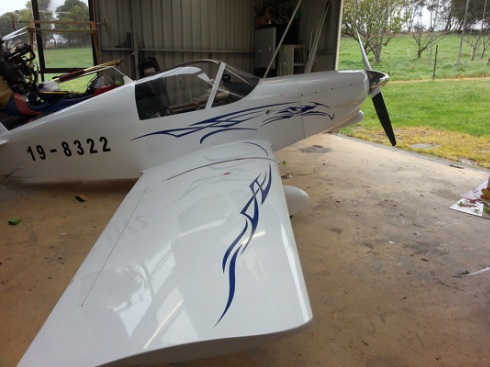
28/09/2013 She's Pretty much finished now, she's all painted and the graphics are on, two small jobs left to go when I get back from sea, that's just to finish the engine baffling and make and paint the wing gap covers. And I hope that this rain stops by the time I get back from sea, pretty much eight weeks straight of rain and i am pretty much over it. Cant get her out of its cage to get some decent photo's. The graphics are two TRIBAL EAGLE HEAD graphic kits, that i picked up from ebay then cut and shut to suit how I wanted them to look, ebay store was 'poorboyextrem' and the price at the time was $27.00 each kit and you get both left and right sides to a kit.
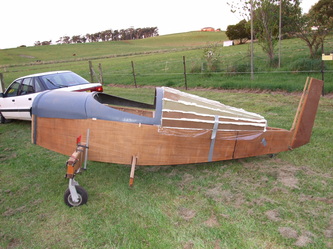
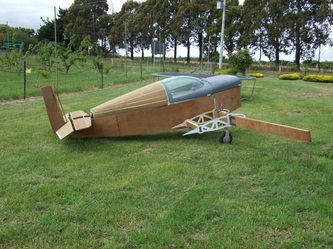
A few stage comparison photo's
09/nov/2013, pre-flight final inspection day. Was a big day going through the check list with Owen Badcock (Thanks Owen)
