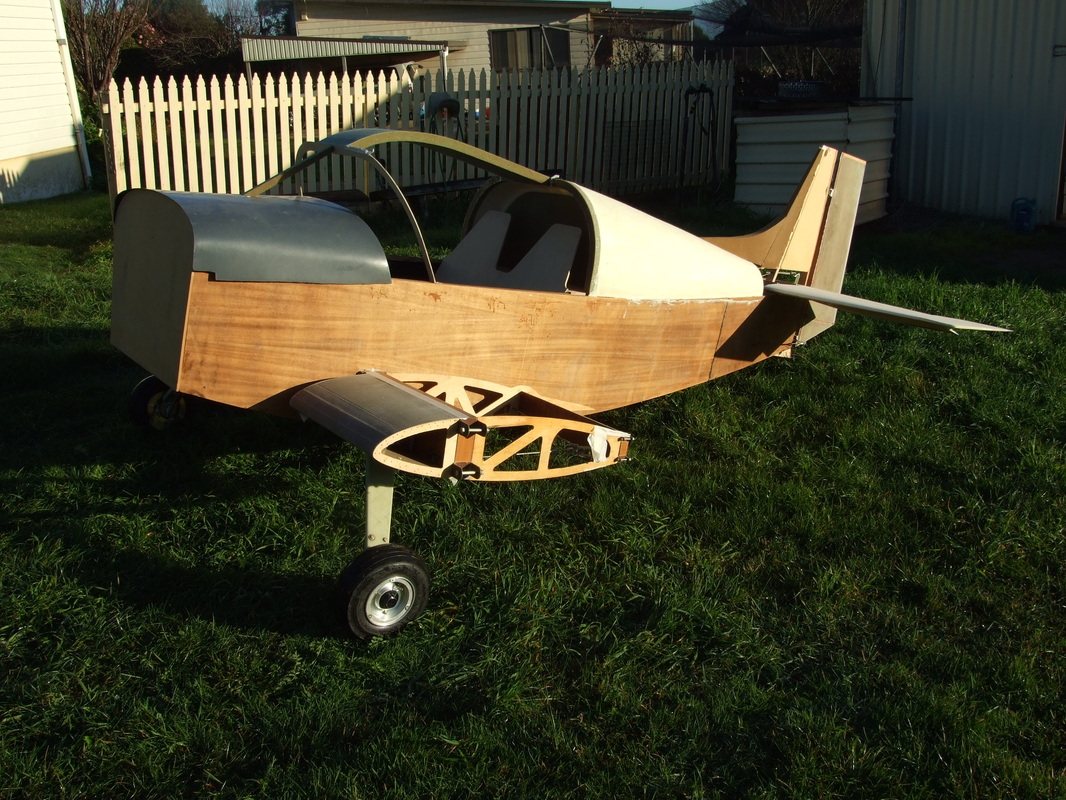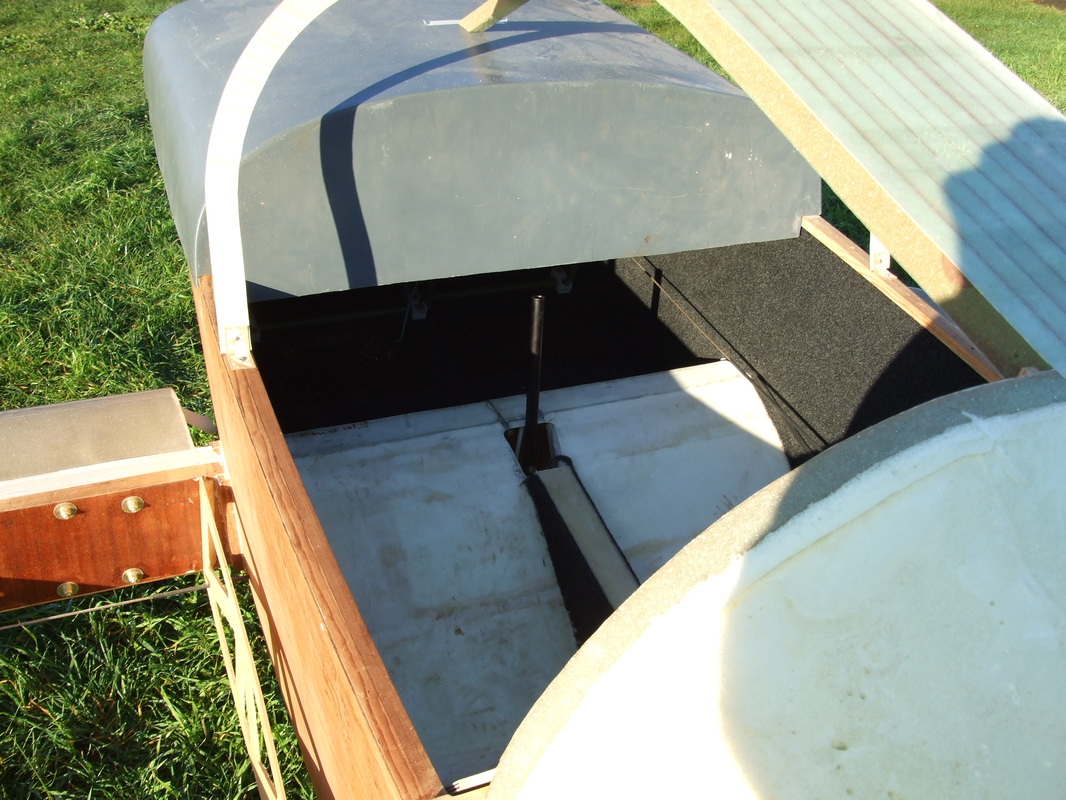
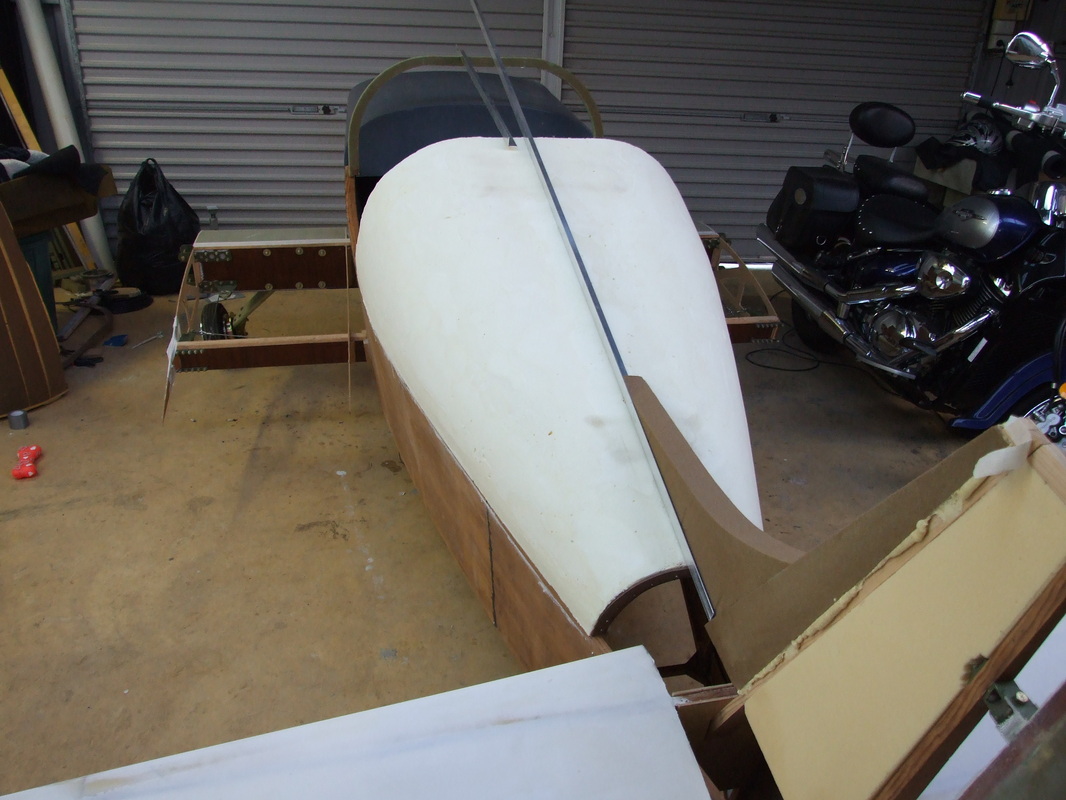
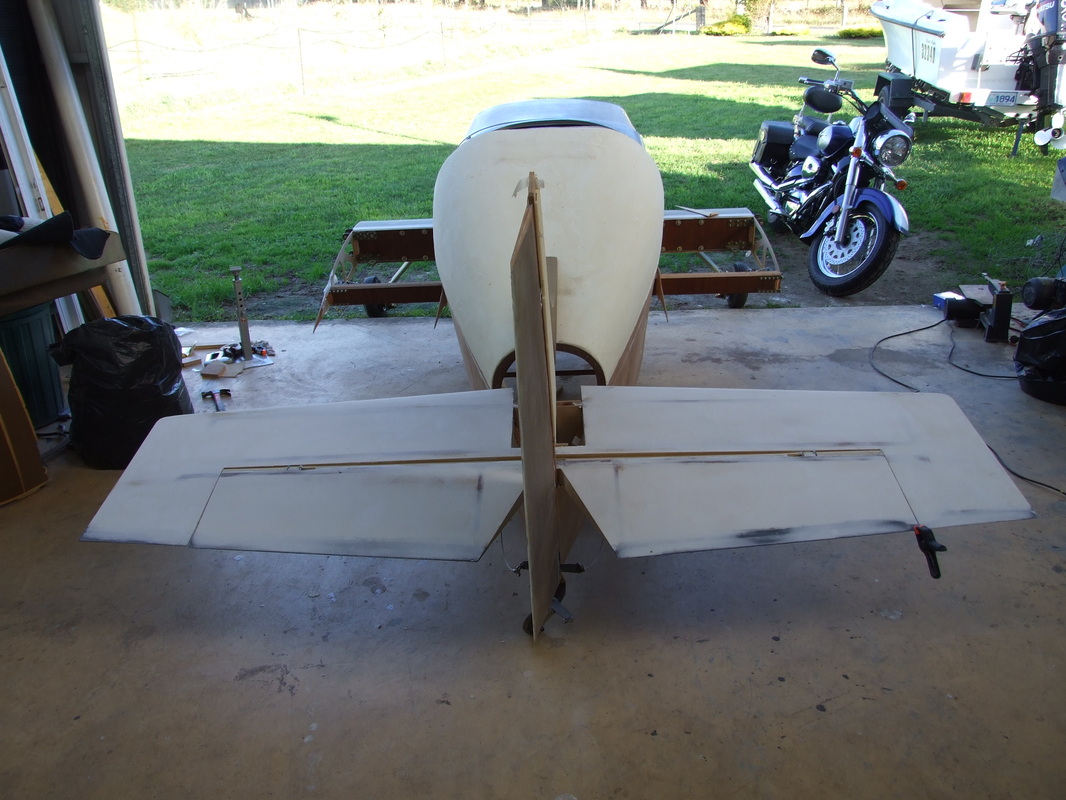
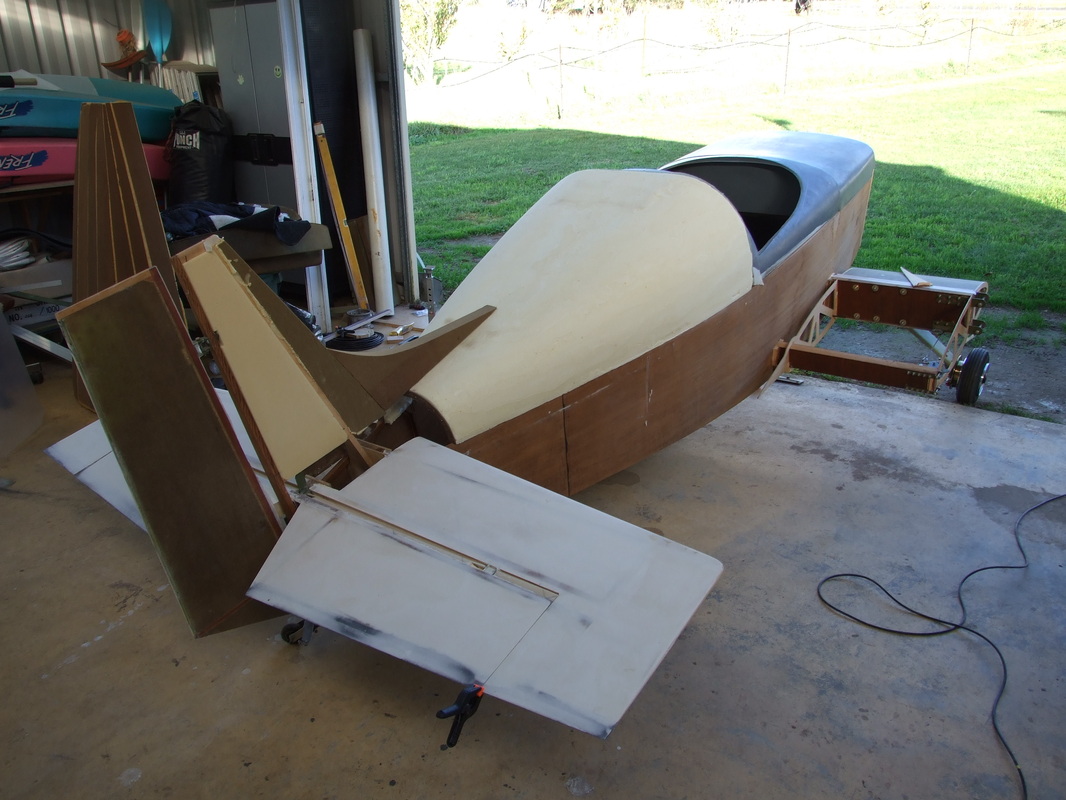
These 2 are the before shots of the old turtle deck.
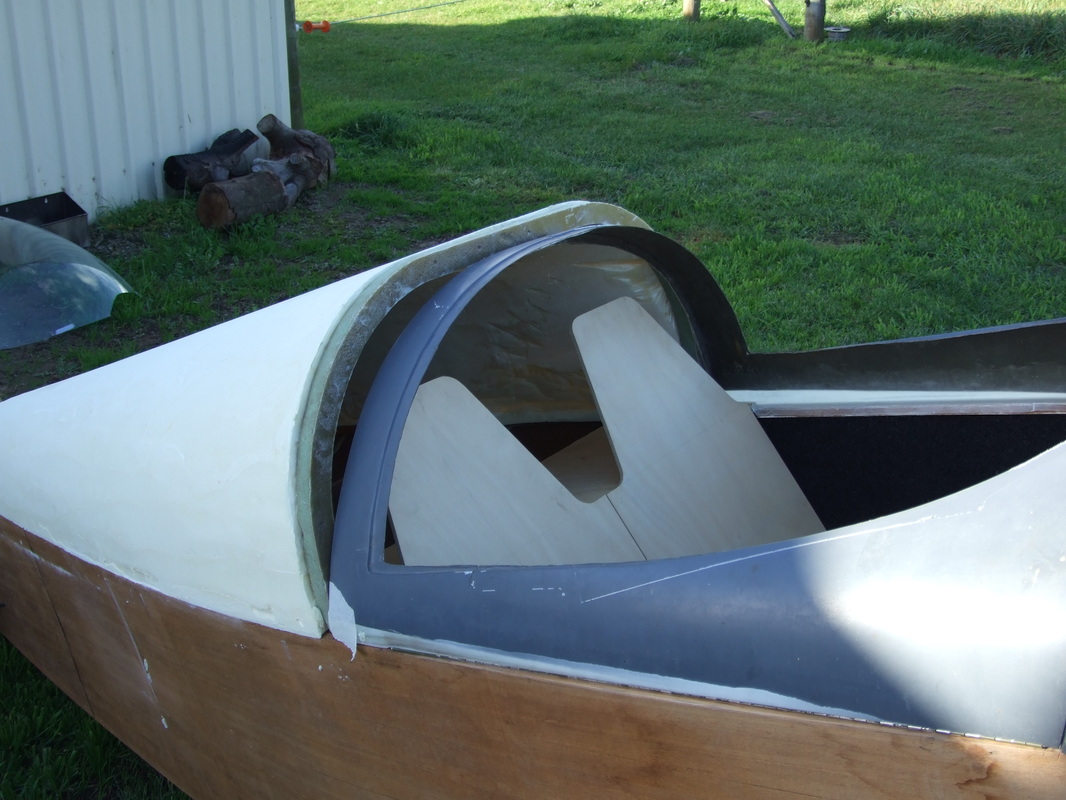
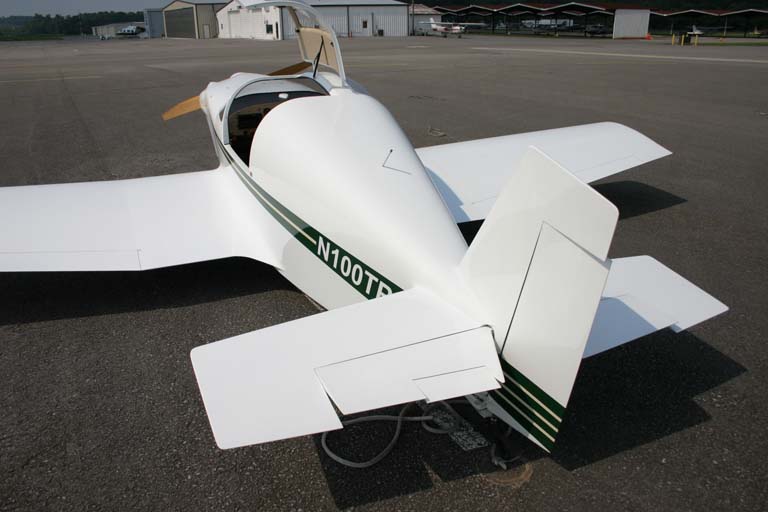
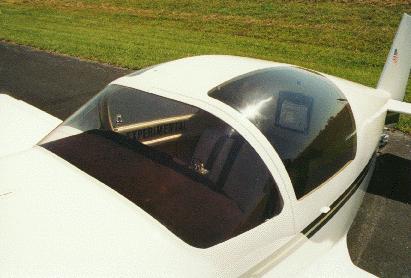
After an argument with the other half were she was saying there wasn't enough head room, and I wanted to save on money work and time, I finally slept on it and woke up and agreed with her and started on a new rear turtle deck. This way I can build the canopy the same way as Troy Petteway's plane with the side opening gull wing door. And after all was done boy was I surprised with how much extra head room there is going to be. I now will be able to move my head from side to side and sit up higher to see over the instrument panel.(see i knew i was right!!!! (spouse)).
Sorry I didn't take any photo's of how I did this, but it's done now, But I will explain how.
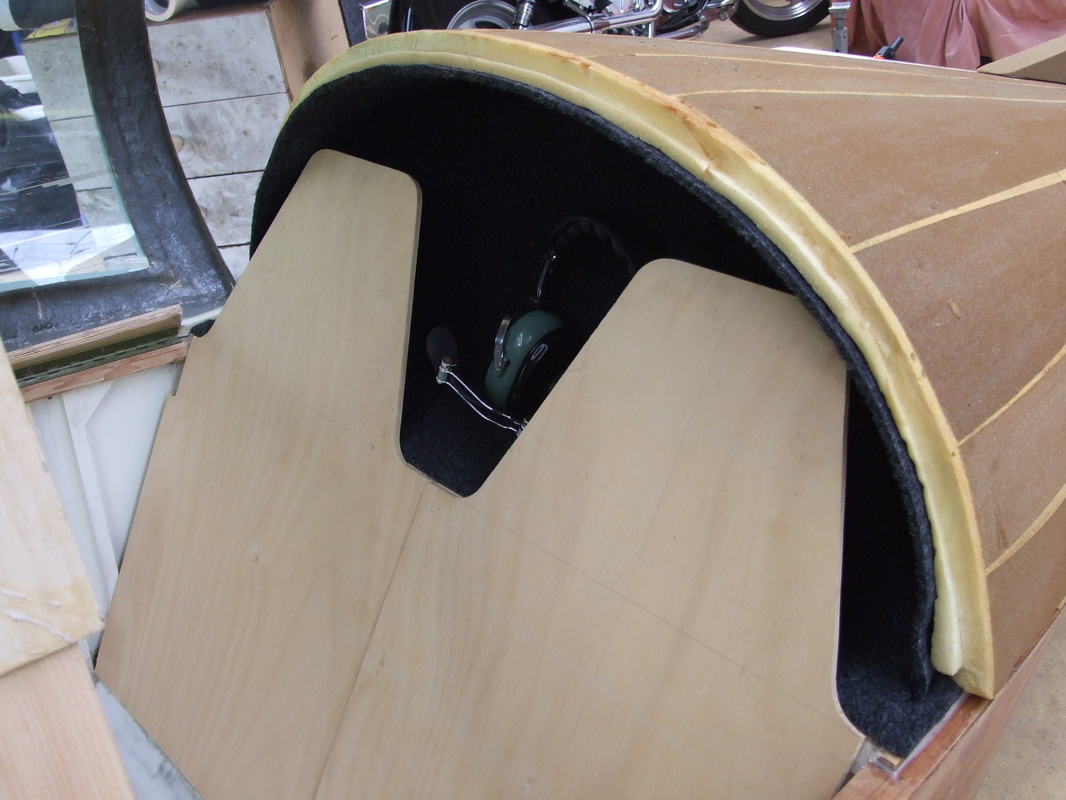
I drew a center line up the fin post and put a screw about 1/2" above the level line of the elevator horn. Then cut out a fwd template . The radius starts 4" high from the top stringer. The radius is 12" this worked out about 13" between radii across the flat top surface. I then used the original aft template taped both fwd and aft templates in place on the fuse then put a string line from the fin post screw to the inside edge of the fwd template. Then tied the fwd template to a fixed point so I could tension the center line string to the fin post screw. Then laid chicken wire over this and stapled this to the inside of the top fuse stringer, then laid cling wrap over this and taped in place. When all happy just mix and pour two part foam on the mold, when all set and high enough cut and sand excess of from inside and shape on the outside to get the ruff shape ready for final shaping and glassing.
Its now the 23/06/2012, and about 3 weeks into my leave home and finally got to do some more work on the bird (though not much).
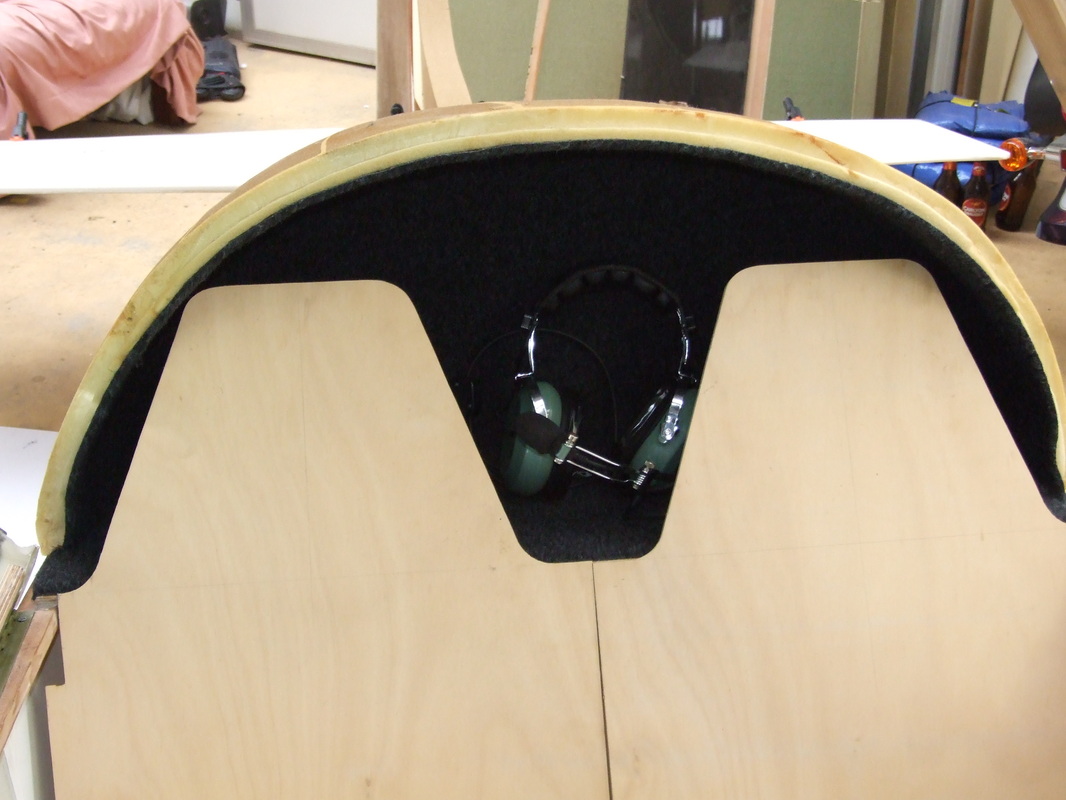
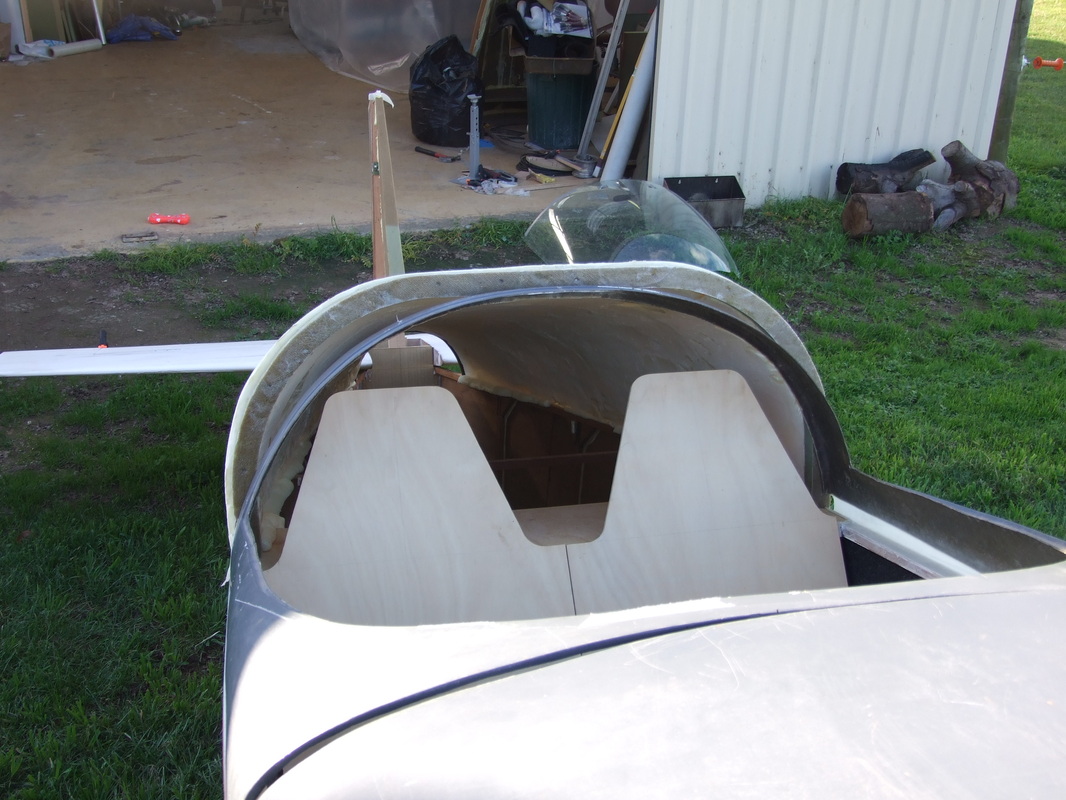
I have now installed the joystick and made the canopy frame top.
This was very easy to make used a straight edge from the rear turtle deck then another straight edge from the forward deck then cut two ply former's to fit between the for and aft canopy frames using the to straight edges marked the lines from the decks to get the flowing lines then did a free hand sketch on the former's to get the rolled look to the top, did the final trim and sand to the former's pinned them in place the cut 10 1" thick foam ribs glued them side to side then profile sanded them between the former's. Fiberglass then done. waiting on the next step now. cut the top down through the middle and make hinge brackets. Then the rest of the canopy frames for the front windscreen and door frame.